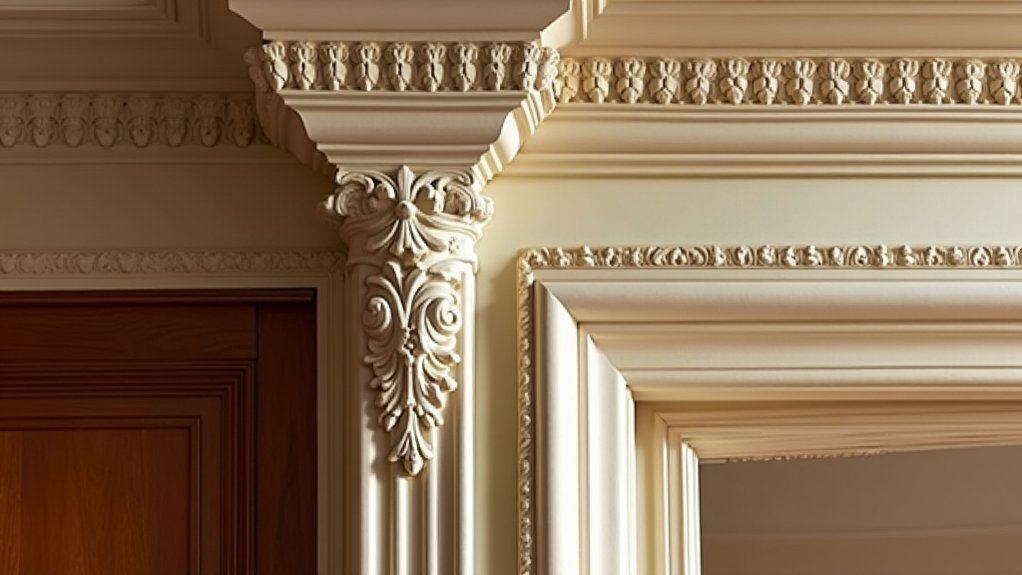
You might not realize how much character a precise cornice height can add to a room—it’s about proportional balance as much as ornament. You’ll explore timeless profiles, from dentil to egg-and-dart, and see how subtle shadow lines and textured finishes transform flat walls into real architectural dialogue. This discussion will guide you through positioning, materials, and installation nuances that keep traditional integrity while delivering durable beauty—and it just might change how you approach your project from the outset.
Identify Timeless Traditional Moulding Profiles
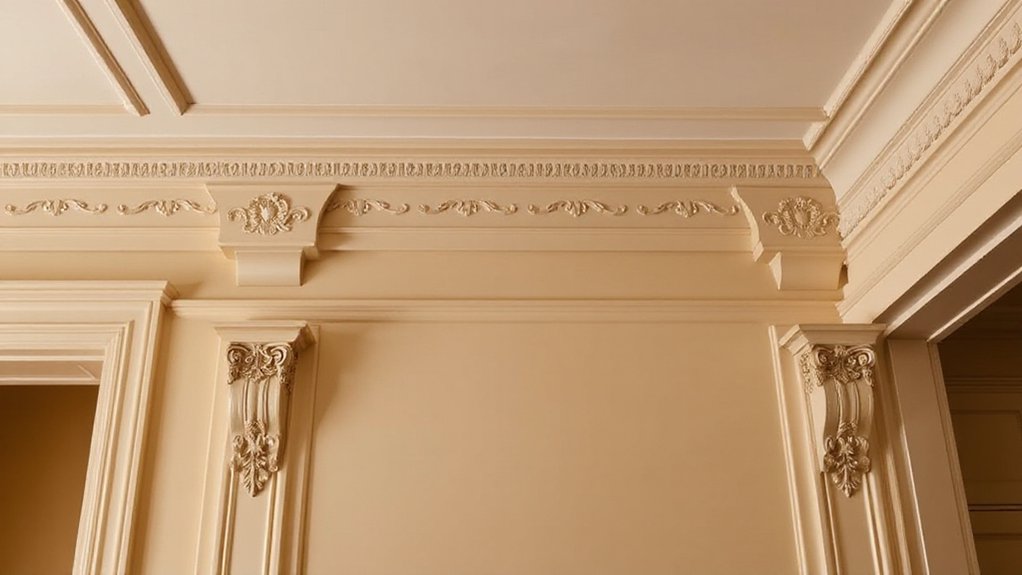
Timeless traditional moulding profiles remain foundational in classic interiors because they pair gracefully with both period architectures and contemporary schemes. You identify profiles by their archetypal lines, ratios, and progressions, then assess how they respond to your space’s scale and light.
Start with crown mouldings that echo historic room heights, moving to casings and baseboards that read as quiet anchors rather than focal elements. Modern adaptations can soften profiles with shallower projections, while maintaining crisp edge definitions for legibility.
Contemporary contrasts emerge when you juxtapose these profiles against streamlined planes or high-contrast color schemes. Precision detailing matters: fillets, ovolos, and bead-and-reel elements should align with overall architectural language.
In practice, evaluate proportion, shadow, and rhythm to guarantee cohesive, enduring integration.
Compare Dentil, Egg-and-Dart, and Classic Motifs
Dentil, egg-and-dart, and classic motifs each convey a distinct architectural message, shaping how a room reads from a distance and up close. In this comparison, you assess ornamental patterns by their rhythm, scale, and repetition, linking design language to perceived form.
Dentil motifs emphasize linearity and restraint, offering subtle cadence that signals solidity and traditional restraint.
Egg-and-dart conveys movement and grandeur through alternating crescents and ovals, suggesting sculptural richness and historical influences rooted in classical precedents.
Classic motifs balance both approaches, pairing symmetry with refined ornament to read as timeless yet adaptable.
You’ll notice how density and contour affect light, shadow, and proportion, guiding ceiling height perception. Use these distinctions to curate detailing that aligns with material choices, era intent, and stylistic harmony.
Where to Use Coving and Picture-Frame Details
Coving placement guidelines help you establish clear vertical and horizontal rhythm, ensuring shifts between walls and ceilings read as intentional rather than decorative accidents.
Picture-frame detail ideas offer precise framing cues that define focal walls and door or mantel alignments without crowding the room.
Pair each element with traditional room palettes and proportions to reinforce a cohesive, timeless composition.
Coving Placement Guidelines
Coving placement should be guided by room function, wall height, and ceiling profile, guaranteeing a seamless shift between surfaces while preserving proportion. You determine precise soffit and crown positions by measuring eye level and sightlines, then align coving to meet the wall-ceiling intersection without crowding architectural details.
In formal spaces, use substantial profiles at cornice height to emphasize traditional rhythms. In low-ceiling rooms, opt for slender runs that maintain proportion while avoiding visual heaviness.
For picture-frame details, place narrow coving along perimeter walls to frame panels without interrupting circulation or light.
Modern adaptations influence profiles for hybrid schemes, while Contemporary contrasts benefit from sharp junctions and clean lines. Maintain consistent material, color, and scale to ensure cohesive transitions across zones.
Picture-Frame Detail Ideas
Picture-frame details create targeted visual islands that elevate wall surfaces without overwhelming a room. You implement them where vertical walls meet ceilings, around doorways, and above seating alcoves to guide line-of-sight and emphasize architectural symmetry.
Choose profiles that harmonize with crown and base mouldings, ensuring consistent rhythm rather than competing motifs. For formal spaces, select refined, narrow frames with shallow cove relief to maintain quiet elegance. In casual areas, broader profiles can add texture without heaviness.
Consider the finish and material to sustain historical accuracy, avoiding overly modern contrasts. Use frame heights that align with eye-level sightlines and proportionate wall area; this restraint reinforces coherence across adjacent rooms.
Shape, spacing, and scale should communicate architectural symmetry while preserving timeless restraint.
Traditional Room Pairings
To pair coving and picture-frame details effectively, consider how room function and lighting shape material choices and scale. In traditional rooms, coving often anchors ceiling lines in living areas, while picture frames define hallways and stair landings.
Choose profiles with clean lines for corridors to maintain flow, and select deeper, beaded or ovolo shapes in living spaces to emphasize warmth. Coordinate MDF or plaster finishes with wall colors that reflect ambient light, ensuring contrast without crowding sightlines.
Modern adaptations appear when you simplify profiles and blend them with metal or high-gloss surfaces, creating reflective tension. For bedrooms, favor restrained profiles to preserve calm, while kitchens benefit from water-resistant coatings and moisture-tolerant edges.
Minimalist contrasts can heighten architectural focus without sacrificing traditional elegance.
Choose Materials That Complement Your Woodwork
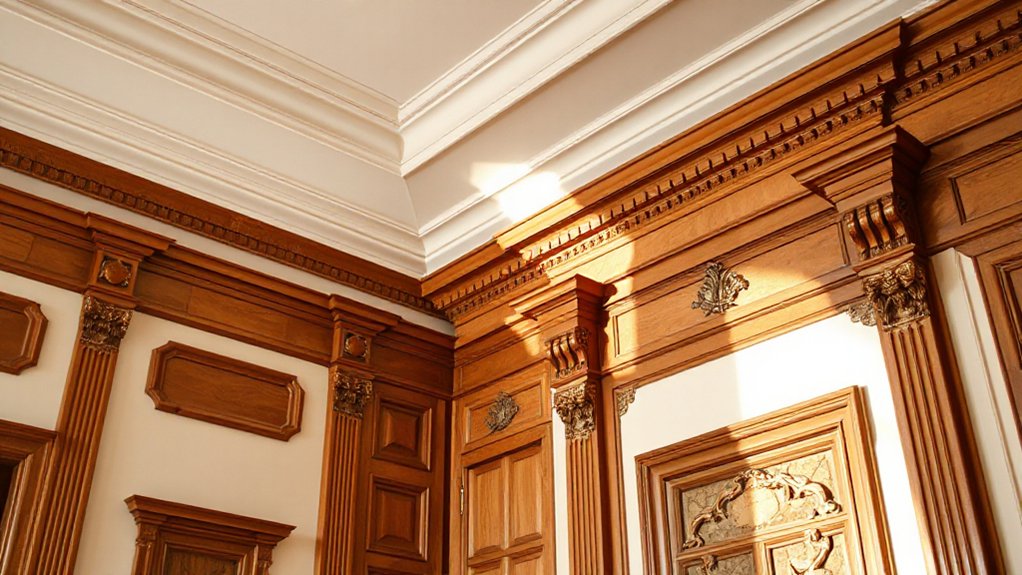
Choosing materials that complement your woodwork is essential for a cohesive decorative scheme. You’ll want substrates and finishes that respect grain, texture, and historical context, while delivering durability and ease of maintenance.
Start with surface compatibility: guarantee adhesion, expansion, and moisture behavior align with the wood’s characteristics.
For profiles and returns, select materials that don’t visually jar with carved details or aging patina; subtle contrasts work best.
Consider finish options that enhance warmth and depth without overpowering ornate mouldings.
Modern materials offer consistent performance, reduced weight, and improved installation speed, yet must echo traditional craftsmanship.
Eco-friendly options can meet indoor air-quality goals and sustainability targets without sacrificing finish quality.
Prioritize a balanced palette, informed by room light, scale, and the wood’s natural tones.
Scale and Proportion: Match Cornice Height to Room Size
When sizing a cornice, the height should harmonize with both room scale and architectural cues from the woodwork you’ve chosen. You assess ceiling height, cornice line, and baseboard rhythm to avoid visual conflict.
A taller room benefits from a proportionally higher cornice, while compact spaces deserve a restrained profile to preserve light, air, and sightlines. Consider the crown’s profile—ugly or overly ornate cornices can overwhelm clean lines in traditional settings.
Balance is achieved by aligning the cornice height with surrounding mouldings and the door and window casing rhythm. Use vintage finishes to reinforce historic scale, or introduce modern contrasts to emphasize contemporary clarity.
Precision in measurement, consistent projection, and careful detailing guarantee cohesive, durable coordination across architectural elements.
Finish With Color, Glaze, and Texture Layering
Finish with a deliberate layering of color, glaze, and texture to reveal depth and enhance the cornice’s detailing. You apply color layering to emphasize profiles, using base tones then selective glazing to pull shadows forward. Choose pigment depth that respects the moulding’s era, avoiding modern vibrancy that clashes with traditional finishes.
Texture techniques—embossed, stippled, or fine grit—add tactile interest without obscuring ornamentation. Apply glaze sparingly in recessed reveals to delineate cornice relief and architectural joints. Maintain consistent tooling marks or patina so the surface reads as a cohesive, aged element rather than a pasted finish.
Test colors on scrap trims, then document the sequence for reproducibility. Finally, protect the result with a satin sheen that balances highlight with legibility across light conditions.
Practical Tips for Measuring, Mitering, and Transitions

You’ll establish precise measurements using standardized techniques for Measuring Techniques and anticipate common framing quirks that affect fit.
Next, you’ll apply Mitering Essentials to guarantee clean corners and accurate angles across changes.
Keep these practices tight and repeatable to support flawless alignment in varied moulding configurations.
Measuring Techniques
Measuring accurate moulding and cornice installations starts with careful, standardized steps for length, angle, and shifts. You’ll establish a baseline by marking wall studs and ceiling lines, then confirm reference points with a laser or chalk line to guarantee square corners.
When measuring lengths, subtract for corner gaps and bevels, recording exact dimensions for each run. For angles, verify room parallels and crown spring, noting any roof or wall distortions that influence cut angles.
Transitions require consistent offsets so joints remain invisible; document each site-specific variance and adjust accordingly. Use a calibrated speed square and a sliding T-bevel for repeatable cuts, then test-fit before final installation.
This approach supports decorative accents and modern adaptations with precision and reliability.
Mitering Essentials
Mitering hinges on precision. You’ll verify unfinished angles against the stock, then set your saw to the exact miter value for each joint. Employ test cuts on scrap to confirm fit before committing to installed pieces. Use sharp blades, calm feeds, and secure clamps to prevent drift, because consistent heat and pressure affect accuracy.
Mitering techniques require clean, square shoulders; trim any irregular grain and verify stock alignment at the corner with a straightedge. When transitions occur, adjust for crown or return cornice by accounting for spring angle and corner geometry, not just nominal room angles.
Maintain a tight corner joint strategy by using backing blocks, splines, or reinforced fasteners where appropriate. Document measured angles and joint details for future maintenance and repeatability.
Room-by-Room Moulding Playbooks: Entry, Parlor, Library, Dining
Entry, parlor, library, and dining room moulding plans establish a cohesive design language across shared walls and private spaces. You’ll map profiles to echo architectural symmetry while preserving functional progression between rooms. Use consistent casing profiles, rosettes, and chair rails that tie sightlines together without crowding focal points.
In each space, integrate vintage accents—reeding details, stepped mantels, and brass fillets—that reinforce period character without sacrificing clarity of line. Maintain proportional scale to doorways and window headers to sustain rhythm along circulation paths.
Choose a restrained palette for plaster and wood, then emphasize key reveals with subtle shadow lines. Your goal is a unified, timeless interior where moulding choices enhance form, function, and subtle decor.
- Cohesive profile scheduling across spaces
- Reeding and step details for vintage accents
- Mantel and crown alignment with door/window headers
- Subtle shadow lines to define depth
- Consistent material and finish to preserve symmetry
Quick-Reference Moulding Checklist for Traditional Homes
A concise checklist keeps traditional moulding projects on track, from material selection to final finish. You begin by defining historical accuracy goals, then verify profiles against period references before procurement.
Confirm room dimensions and ceiling heights to guide scale, proportion, and joint details, noting any deviations that require adaptation.
For materials, balance authenticity with performance—wood species, profiles, and corner treatments should align with era-plus modern adaptations for stability and finish durability. Inspect stock for defects, acclimate, and prefinish where appropriate.
During installation, verify plumb lines, level trims, and precise miters, documenting any remedial tweaks.
Finish with compatible sealants and coatings, testing adhesion.
Maintain a revision log, flagging deviations for future reference, and reserve options for modernization without compromising character or historical accuracy.
Frequently Asked Questions
How Do I Choose Moulding Scale for Small Rooms?
To choose moulding scale for small rooms, start with room proportion in mind and aim for visual balance with the ceiling height.
Select narrower profiles and keep the moulding under one-third of wall height to avoid overpowering the space.
Use consistent depth and profile across rooms to maintain harmony.
In tighter areas, opt for understated details, and pair with shading and lighting to enhance depth, ensuring visual balance without crowding.
Can Moulding Refinishings Preserve Original Character?
Yes, moulding refinishes can preserve original character if you use careful restoration techniques and respect historical accuracy. You’ll stabilize, clean, and re-create profiles with matching materials, patina, and joins rather than disguising wear with modern fillers.
Anachronism: you’ll still want to log every step like a 19th‑century conservator, but you can modernize fasteners and finishes. Prioritize compatible coatings, documented color history, and commingling techniques to maintain authentic look and structural integrity.
What’s the Best Underlayment for Ornate Corners?
The best underlayment for ornate corners is a high-density, moisture-resistant subfloor underlayment that provides a rigid base. You’ll want a material that minimizes telegraphing and supports intricate profiles.
Use it with complex patterns to preserve ornate corner techniques and decorative corner accents. Guarantee flatness with a level, seal joints, and acclimate panels.
This approach reduces deflection, improves adhesion, and yields a clean edge for precise, durable detailing.
How Often Should I Repaint Crown and Coving Accents?
You should repaint crown and coving accents every 5 to 7 years, more often if you notice peeling, fading, or cracking. Maintain a consistent schedule to minimize surface wear and color drift.
Use high-quality paint and proper priming for durable coverage. Paint maintenance should align with your home’s color coordination goals, selecting finishes that resist humidity and dust.
Reevaluate thresholds after renovations. Regular inspections help you preserve detail while maintaining overall cohesion of the space.
Are Budget-Friendly Options Durable for High-Traffic Areas?
Yes, budget-friendly options can be durable in high-traffic spaces if you choose cost effective options and long lasting materials like high-grade MDF, PVC, or engineered wood with water-resistant coatings.
Opt for reinforced fasteners and sealed joints, and apply a scrubbable, stain-resistant paint or coating.
Regular maintenance helps, but you’ll get practical longevity, ease of install, and cost savings by balancing price with compatible finishes and durable substrates, tailored to traffic demands.
Conclusion
You’ll finish with interiors that feel timeless, precise, and durable. As you trim your walls, think of each profile as a sentence in a well-turned paragraph—Dentil for rhythm, Egg-and-Dart for breath, and simple crown for cadence. When a room’s height guides proportion, your result reads as intentional rather than ornate. I once measured a 9-foot parlor and found a perfect 7-inch cornice; the ceiling seemed to sigh in relief, instantly elevating the space with quiet authority.