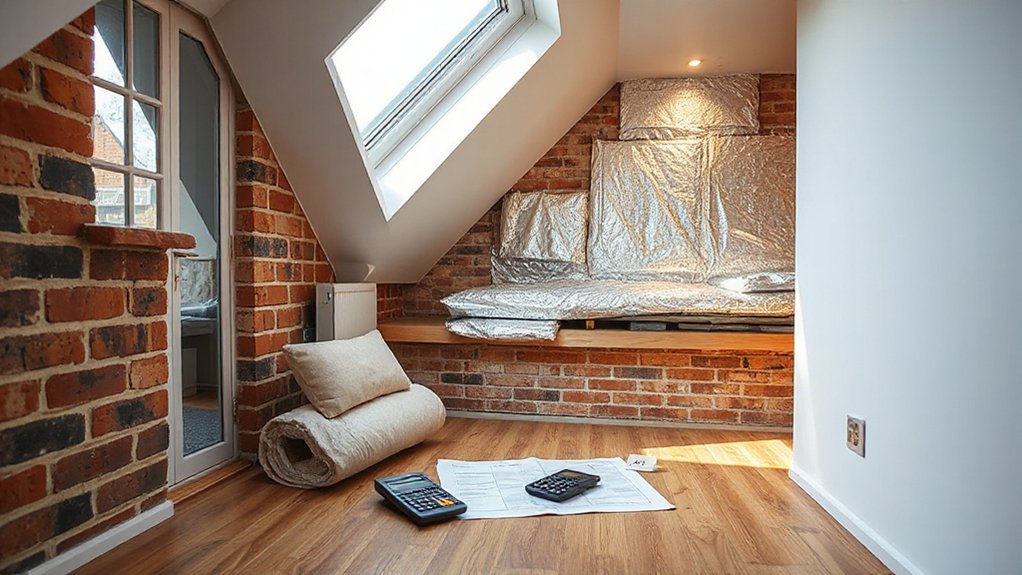
Most people don’t realize that the gap between cavity and solid wall insulation can double your upfront costs, not just your energy savings. You’ll see a wide range in UK prices—from a few hundred pounds for loft insulation to £2,000–£6,000 for solid wall upgrades—depending on access and materials, yet the long-term savings depend on your home’s layout and insulation type. Keep this in mind as you weigh options and plan how to budget for swaps that truly stick.
How to Save on Energy Bills: Your Quick Insulation Decision Framework
To cut energy bills quickly, start with a simple four-step decision framework: identify heat losses, prioritize high-impact upgrades, estimate costs and savings, and set a rollout plan.
You’ll quantify gaps in walls and lofts using basic measurements and monthly bills, then rank options by payback and comfort impact. Target high-leverage moves first—seal leaks, improve insulation thickness where effective, and optimize ventilation to preserve indoor air quality.
Use data to compare retrofit scenarios, noting that insulation myths often overstate benefits or ignore comfort trade-offs. Track progress with a simple dashboard, updating estimates after each phase.
Stay focused on cost-effective, measurable outcomes, and avoid overinvesting in marginal gains. This disciplined approach keeps energy bills predictable and comfort consistent.
What Insulation Usually Costs in the UK (Materials vs. Labour)
You’ll see that material costs and labour fees drive most UK insulation budgets, with materials typically forming a clear portion of the total.
Plan around price ranges for common options (e.g., mineral wool, PIR boards, or foil-backed plasterboard) and factor labour times by area and system complexity.
Use these benchmarks to compare quotes, identify cost drivers, and set a realistic budget for walls and loft projects.
Materials Versus Labour Costs
In the UK, material costs typically represent a substantial portion of insulation projects, but the split between materials and labour varies by product and installation method. You’ll see fibres and boards priced per square metre, with labour following complexity, access, and preparation needs.
Focus on three factors to balance total cost and performance: insulation durability, environmental impact, and installer efficiency.
- Material quality vs. installation difficulty
- Long-term performance and replacement needs
- Eco-friendly options and lifecycle costs
A data-driven approach shows higher upfront material costs can reduce labour time and waste, boosting durability and reducing environmental impact over its life.
Compare products by R-value retention, installation time, and embodied carbon to optimize total cost and environmental footprint.
UK Insulation Price Ranges
UK insulation prices typically split into materials and labour, with material costs dominating for certain systems but labour driving the total where access or preparation is complex.
In local quotes, expect insulation materials to range from about £6–£12 per m2 for standard products to £20–£40 per m2 for premium boards, with thickness and A-rated performance shifting costs.
Labour often adds £15–£40 per m2, influenced by surface complexity, ceiling height, and routes for waste disposal.
When estimating loft insulation, a typical full install falls around £1,000–£2,500, depending on area and insulation type.
For walls, expect £2,000–£6,000, subject to cavity or solid-wall conditions.
Awareness of insulation myths and the environmental impact of materials helps you refine cost-benefit choices.
Plan with transparent quotes and track material efficiency over the project lifespan.
Cavity Wall vs Solid Wall Insulation: Cost Comparison at a Glance
When you’re weighing cavity wall insulation costs versus solid wall options, you’ll start with installed price ranges and typical payback periods.
Cavity wall insulation costs tend to be lower upfront, while solid wall insulation can require more invasive work but may offer higher long-term energy savings.
This quick comparison lays the groundwork for a precise, data-driven decision on which approach fits your home and budget.
Cavity Wall Insulation Costs
Cavity wall insulation typically costs less than solid wall insulation and delivers faster payback through lower heat loss, making it the more economical default for most UK homes. You’ll find costs depend on wall length, cavity condition, insulation material, and installer rates, with typical UK ballpark ranging from £0.5k to £1.5k per dwelling for standard semi-detached properties.
Insulation durability varies by product (cellulose, mineral wool, foam) and filler quality, influencing long-term performance and maintenance needs. The choice of wall materials shapes installation practicality and thermal gains, while airtightness improvements can magnify savings.
- Lower initial spend than solid wall options, with shorter payback periods
- Material performance affects long-term durability and heat retention
- Site conditions and wall thickness drive labor and material costs
Note: Always verify installer credentials and warranty coverage for your project.
Solid Wall Insulation Expenses
Solid wall insulation costs typically run higher upfront than cavity options, but offer longer-term savings for homes with solid or complex external walls. You’ll pay for full wall coverage, plus higher installation labor, scaffold access, and higher material costs per square metre.
Wall thickness directly affects overall expense: thicker walls require more insulation material and sometimes additional fixing systems, influencing both upfront and ongoing maintenance.
Durability matters too; high-quality insulation boards or mineral wool with robust fixings reduces retrofit risk and reduces future replacement costs.
Track insulation durability against external factors like weather exposure and moisture risk, and consider long-term performance claims from suppliers.
For budgeting, compare complete installed price per square metre, plus expected energy reduction over 10–25 years to gauge true value.
Cost Comparison Basics
Optimizing insulation costs starts with a clear side-by-side view: cavity wall vs solid wall options. You’ll compare installed costs, payback periods, and performance metrics to determine value.
Cavity walls typically offer faster installation and lower disruption, but solid walls can deliver steadier heat retention in colder regions. Use real-world data on U-values, thickness, and retrofit feasibility to gauge overall lifetime costs.
Consider insulation myths that inflame decisions and replace them with evidence: cavity fills vs wall cladding, and whether air sealing is more impactful than higher material grades.
Eco-friendly materials can alter price but often improve long-term efficiency. Focus on transparent, project-specific numbers to avoid overestimating savings and undercutting returns.
- Key cost drivers and payback timelines
- Material choices and installation feasibility
- Long-term energy savings and maintenance considerations
Loft Insulation: Typical Price Range and Value for Money
Loft insulation typically costs a few hundred to around a thousand pounds for a full install, depending on attic size, insulation type, and whether you DIY or hire a pro.
In this range, you’ll find mineral wool, glass wool, and rigid foam boards, each with distinct long-term costs and returns. Material sustainability matters: choose products with lower embodied energy and recyclability to improve overall value and reduce future disposal costs.
Insulation durability affects performance over time; look for warranties of 25–40 years and compliant installation to prevent air gaps.
Payback is driven by heat loss reductions and reduced heating demand, not upfront price alone.
Compare installed R-values, not just thickness, and request itemized quotes that include attic access, ventilation checks, and air-sealing work for true value alignment.
Floor and Underfloor Insulation: Costs, Savings, and Scope
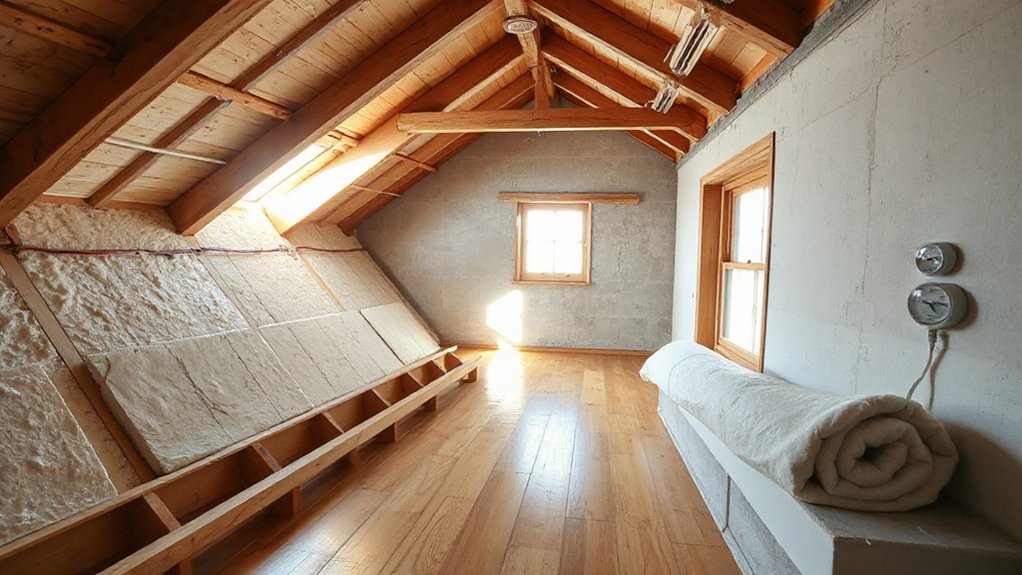
Floor and underfloor insulation costs vary by whether you insulate joist-space floors or retrofit under-slab/ground floors, with typical installs ranging from a few hundred to several thousand pounds depending on area, insulation type, and access.
- Compare cost per square metre for joist-space vs. under-slab methods
- Evaluate insulation durability and long-term savings (heat loss, comfort)
- Assess environmental impact and local moisture risks
You’ll usually see payback in 3–8 years through reduced heating demand, with higher upfront for retrofit under slabs. Choose mineral wool or PIR boards for stable performance, vapor barriers for moisture control, and professional installation to avoid gaps.
Track U-values pre- and post-install, monitor for thermal bridging, and plan for air-sealing alongside insulation to maximize effectiveness and durability. Prioritize low embodied energy options where available.
Government Support for Insulation: Grants, Loans, and Incentives
You can start with a concise map of current government support, outlining available insulation grants, loan schemes, and general eligibility rules.
Data shows grant availability varies by region and project type, while loan programs often come with favorable repayment terms and application timelines.
Use this as a baseline to compare costs, confirm qualification, and prioritize which incentives to pursue for walls and loft insulation.
Government Insulation Grants
What government programs exist to help with insulation, and how much can you save? You’ll find several grants and incentives designed to reduce upfront costs and accelerate payback. Typical awards cover a portion of installation costs, with caps tied to energy performance targets. Availability fluctuates by region and qualification, so verify current criteria before applying.
Expect faster payback when combined with efficient materials and proper installation. Environmental impact improves as energy use declines, and insulation lifespan extends with quality workmanship and sustained performance.
- Funding amounts and eligibility vary by scheme and region
- Prioritize high‑performance materials and professional installation
- Track performance metrics to maximize long‑term savings
Availability Of Loans
You’ll find loan availability tends to align with home improvement or energy efficiency objectives, often combining with grants for blended funding.
Credit options include unsecured and secured loans, with some programs prioritising low-income applicants or green households.
Administrative processes are typically transparent, detailing required documents, application timelines, and repayment terms up to 15–25 years.
Compare total repayment, not just monthly payments, and check for any prepayment penalties.
In many cases, local authorities or energy suppliers provide third-party finance options, sometimes paired with energy audits.
Plan ahead, document energy improvements, and verify program support before committing funds.
Incentives And Eligibility
Many government programs now offer a mix of grants, loans, and incentives to fund insulation upgrades, with eligibility hinges on energy efficiency, income, and property type. You’ll find that Incentive eligibility hinges on proven energy performance, household income thresholds, and dwelling classification, while grant application processes emphasize documented energy assessments and cost estimates.
Programs typically set caps on grant amounts and limit combined funding with loans to avoid debt overload. To maximize access, prepare your energy report, identify qualifying criteria, and note required proofs before applying. Deadlines vary by scheme, so track dates and respond promptly. Use one application per program, and verify whether upgrades meet specified U-value targets.
Consider bundling loft and wall upgrades for ideal returns and compliance.
- Incentive eligibility criteria and required documentation
- grant application steps and timing
- upgrade combinations for best value
How to Estimate Payback Time for Each Insulation Type
To estimate payback time for each insulation type, start by identifying your annual heating savings and the upfront cost, then divide the latter by the former to yield years.
Gather data on R-values, heat loss reductions, and climate-specific heating needs to derive savings.
Use measured annual utility bills or standardized energy calculators to quantify savings from each insulation type.
Compare upfront costs from quotes and product labels, including installation materials and required work.
Apply a consistent baseline for regional weather and dwelling size to keep results comparable.
Consider installation techniques that affect performance, such as air sealing and ventilation, which can alter payback.
Report findings as years, with confidence intervals, and note assumptions.
Insulation materials and installation techniques drive variability, so document sources and method transparency.
What Drives Insulation Costs: Home Size, Access, and Type
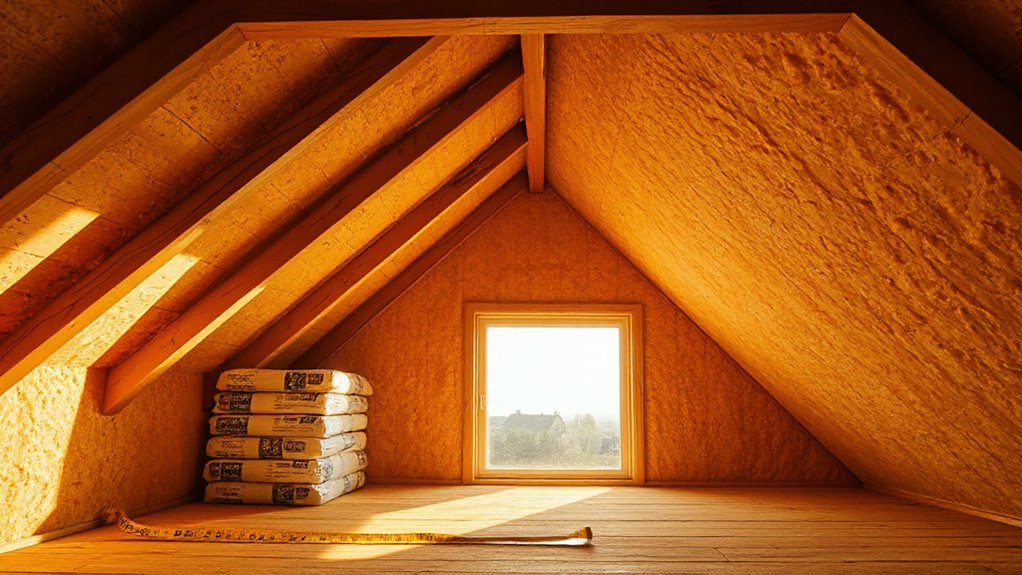
Costs to insulate aren’t fixed; they hinge on three core levers: home size, site access, and insulation type. You’ll see costs scale with floor area and the number of walls to treat, affecting material quantities and labour time.
Site access determines required equipment, crew positioning, and disruption, which shifts quotes up or down.
Insulation type drives unit costs, installation complexity, and performance outcomes, influencing long-term savings.
To plan, compare tariffs by project scope, access constraints, and material options.
- Home size and layout impact material volumes and labour hours
- Access dictates equipment needs and scheduling
- Insulation materials balance upfront costs with enduring efficiency
DIY vs Professional Installation: Pros, Cons, and Cost Trade-offs
DIY saves upfront costs but shifts risk and labor to you, so you’ll want to compare your time, skill, and access to tools against professional quotes and warranties.
Professionals offer standardized installation, compliance, and insulation performance data, yet their rates and scheduling impact your overall cost trade-offs.
Start by outlining your project scope, expected energy savings, and break-even timelines to decide whether DIY or pro installation makes the most sense.
DIY Cost Trade-offs
For many homeowners, choosing between DIY insulation and professional installation hinges on cost, reliability, time, and risk. You’ll weigh upfront materials, tools, and disposal costs against labor rates and potential warranty limits.
DIY can trim expenses but raises risk of poor fitting, moisture traps, and reduced insulation lifespan if done unreliably. Professional work tends to yield consistent performance, site safety, and code-compliant results, often with longer warranties, though at higher upfront cost.
Environmental impact shifts with selected materials and installer efficiency—air leaks from mistakes can negate savings.
Data indicates a median payback improves when installation follows best practices, albeit with diminishing returns if corner-cutting occurs.
Consider these factors before you decide:
- Material costs vs labor and time
- Warranty terms and long-term performance
- Environmental impact and lifecycle efficiency
Professional Install Prospects
In choosing between DIY and professional installation, you’ll weigh predictable performance, safety, and warranties against upfront savings.
Professional install prospects hinge on adherence to UK standards (PAS 2030/2035 where applicable) and rated insulation performance, which reduces long-term heat loss more reliably than DIY methods.
Consider installer track record, proof of competency, and site risk assessments to minimize foggy outcomes.
Insulation myths often skew expectations; a qualified contractor pinpoints correct eaves ventilation, cavity fill density, and air-tightness targets, avoiding over or under-insulation.
When evaluating contractor selection, request sample performance data, detailed quotational breakdowns, and post-installation tests (Blower Door, thermal imaging).
Balance cost against warranty terms and potential rework, aiming for consistent quality, timely completion, and verifiable energy savings over the first five years.
Hidden Costs to Budget For in Insulation Projects
Hidden costs can quietly erode your insulation budget, so expect more than just the price of materials. In practice, you’ll face variances from estimates, labour timing, and permit requirements that shift total spend upward.
Track these data points to avoid surprises: procurement delays, access issues, and waste disposal fees can collectively add up to 15–25% of project costs. Budget buffers should reflect regional labour rates and seasonal demand, not a fixed forecast.
- Estimation variances and contingency budgeting
- Access, disruption, and site preparation refinements
- Permit, waste, and removal fees
How to Judge Quality: U-Values, Certifications, and Savings
To judge insulation quality, start with U-values, certifications, and real-world savings data. You’ll compare architectural U-values for walls and lofts to published benchmarks, then verify product certifications (BDAu, CE, or equivalent) and installer qualifications.
Look beyond lab numbers: demand field-tested performance and long-term energy bills. Track reductions in heating demand, not just upfront costs, using climate-adjusted savings calculators.
Be wary of Insulation myths that promise quick payback without considering heat loss paths, ventilation, and thermal bridges.
Use thermal comfort as a practical metric: steady surface temperatures, reduced drafts, and fewer cold spots.
Prioritize products with corroborated performance in similar UK housing, and request independent third-party test reports.
Use these criteria to quantify value, not just price, and guide decisive, data-backed decisions.
Financing Your Insulation Project: Budgeting and Options
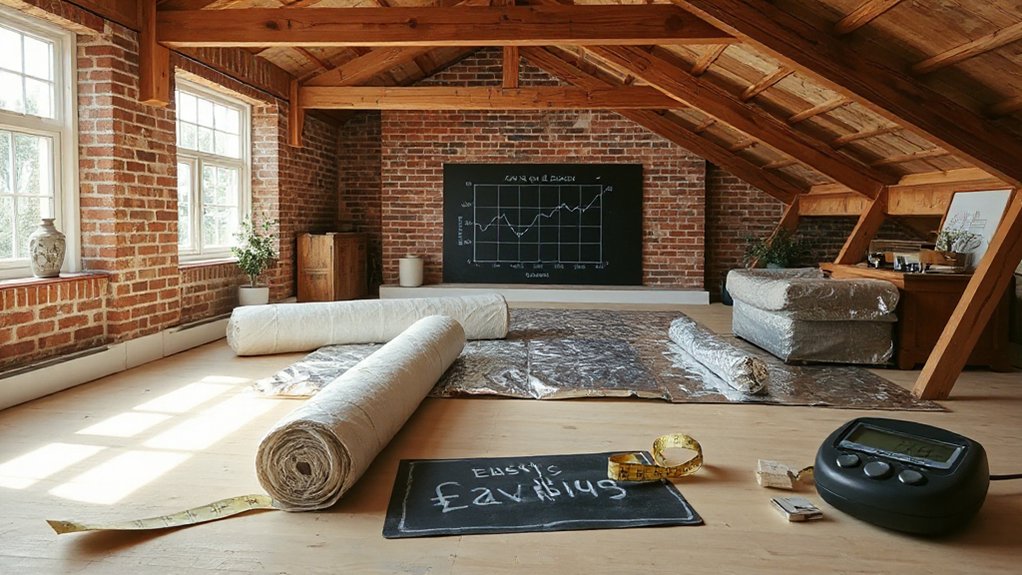
With solid estimates of cost and performance from your insulation plans, you can build a practical financing path that fits your budget and goals. You’ll pair upfront costs with long-term savings, creating a cash-flow view that guides decisions about funding sources, timelines, and risk.
Prioritize options that balance material durability and insulation aesthetics, so you don’t pay more for unnecessary features. Use data to compare interest rates, payback periods, and grant eligibility, then model scenarios for cash-outlay versus staged work.
Practical financing paths include savings, affordable loans, and grants where available. Plan milestones around anticipated energy savings to validate pacing and avoid overextending.
Consider contractor quotes that itemize materials, installation, and warranty coverage for durable results.
- Compare funding sources by rate, term, and risk
- Schedule staged work aligned with energy savings
- Verify warranties and material durability, insulation aesthetics
Regional Cost Variations in the UK: Where You Live Matters
Regional Costs can swing noticeably across the UK, so where you live matters for insulation bills and timelines. Данные show that labor rates, material availability, and access to local incentives vary by region, with northern and devolved areas often presenting lower installation costs but different supply dynamics than southern or metropolitan locations.
In practice, expect regional climate to drive seasonal scheduling and supplier lead times, influencing project duration and procurement windows. Asset durability and installed insulation performance remain consistent when you choose accredited installers and standard specs, but regional price bands can affect overall cost-per-meter and aftercare options.
Track regional funding schemes and VAT or incentive programs to optimize insulation durability gains within your budget, aligning climate needs with practical installation windows.
Quick Framework: Matching Your Home to the Best Insulation Path
Choosing the right insulation path starts by matching your home’s structure, climate, and living patterns to proven options. You’ll evaluate shell improvements first (walls, roof, doors, windows) versus targeted gaps, then weigh payback timelines, comfort gains, and heat-loss data.
Base decisions on measured U-values, local energy costs, and retrofit feasibility to avoid over- or under-insulating. Finally, align choices with your routine and long-term plans to maximize value.
- Assess shell upgrades versus point fixes using quantified payback and comfort metrics
- Prioritize approaches that minimize drafts, condensation risk, and water ingress
- Reconcile aesthetic goals (home decor) with measurable performance, and debunk insulation myths
This framework ensures data-driven, actionable steps that translate into tangible energy savings and clearer expectations.
Frequently Asked Questions
How Long Does Insulation Work Before Replacement Is Needed?
Insulation lifespan varies, but you should plan for replacements every 15–25 years, depending on material and installation. You’ll track degradation with performance tests; replacement frequency increases if you notice drafts, damp, or reduced R-values. Regular checks keep efficiency ideal.
Are There Hidden Penalties With Government Grants?
There aren’t hidden penalties with government grants, but you should watch for hidden fees and confirm grant eligibility. You’ll find the data-driven requirements, timelines, and eligibility rules to guarantee you don’t pay out-of-pocket unexpectedly.
Which Insulation Affects Home Resale Value Most?
Symbolism: you’re the brick wall of your future, and thermal insulation drives resale value, more than any other factor. You’ll prioritize insulation materials that demonstrate efficiency, cost, and measurable performance in energy-use data and simple payback.
Can Small DIY Fixes Beat Professional Installation Costs?
Yes, small DIY fixes can beat professional installation costs in some cases, but you trade quality. Do DIY shortcuts for minor air leaks and phenolic wraps, while reserving professional quality for extensive loft or wall insulation.
Do Insulation Gains Vary by Property Energy Rating?
Yes, insulation gains vary with property energy rating; higher-rated homes typically see bigger thermal efficiency boosts from the same insulation materials. In practice, measure air leakage, compare R-values, and tailor insulation materials to your rating for best gains.
Conclusion
To cut bills fast, couple your insulation choice with solid budgeting. Compare cavity and solid wall options, weigh loft and underfloor costs, and factor regional price shifts. Prioritize high‑performance materials, verify U‑values, and pursue certified installers for best value. Use a simple decision framework to match home type to the cheapest long‑term savings. Budget realistically, explore financing, and don’t underestimate the impact: a single upgrade can be an energy‑saving superhero for your wallet.