
Top-rated laser levels for home improvement give you fast, precise reference lines for horizontals and verticals, reducing guesswork on tasks like hanging art, installing cabinets, or tiling. Decide between self-leveling for speed and manual models when you need targeted accuracy. Look for bright beams, solid range, durable housings, and easy calibration. Setups should be secure with tripods or magnetic bases, and regular maintenance keeps accuracy sharp. If you keep reading, you’ll get practical recommendations for common uses.
What Laser Levels Do for Home Projects
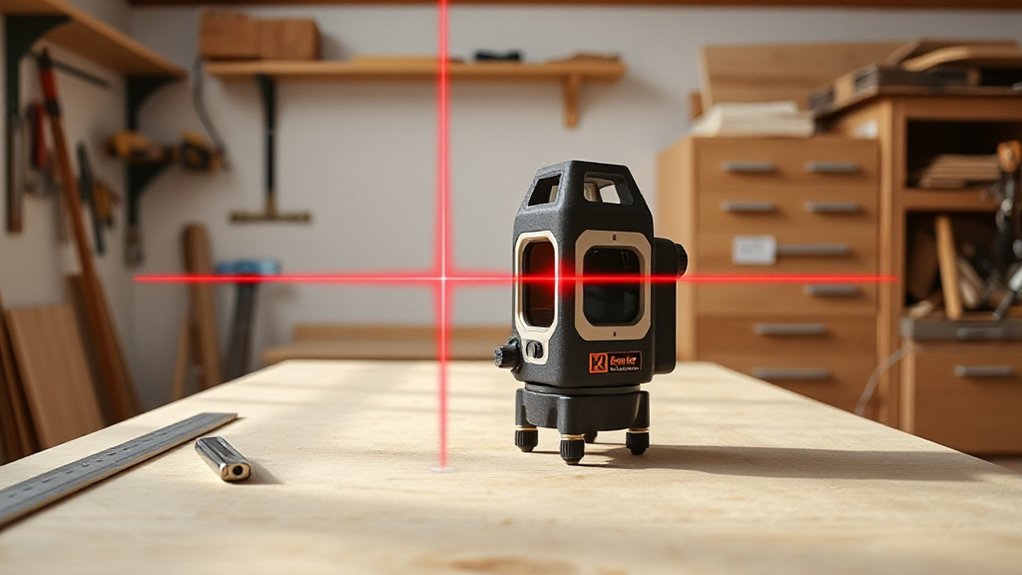
Laser levels streamline alignment tasks by projecting precise, continuous lines or dots that serve as reference points across a workspace. You’ll rely on laser level accuracy to establish true verticals and horizontals, ensuring fixtures, shelves, and cabinetry align flawlessly.
Precision improves measuring efficiency, reduces rework, and supports consistent results across rooms. You’ll understand how mounting techniques influence stability, line visibility, and projection range, enabling you to optimize setups for different surfaces and distances.
In practice, expect faster transfer of reference points from blueprints to walls, ceilings, and floors, with clear, bright lines that remain readable in various lighting.
You’ll appreciate robust construction, battery life, and calibration ease that keep projects on schedule and deliver professional-grade outcomes.
Self-Leveling vs Manual: Which to Choose for DIY
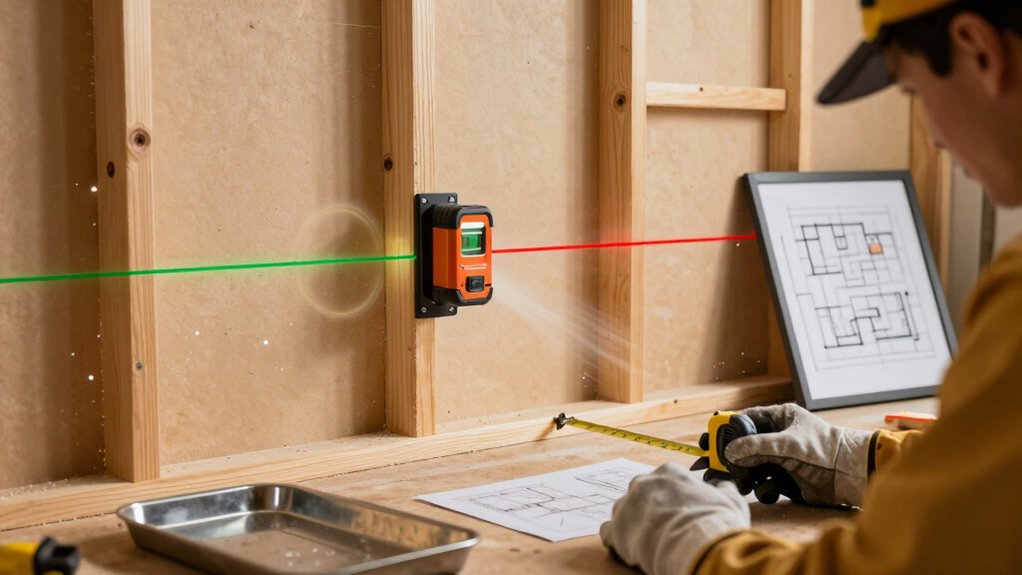
When deciding between self-leveling and manual laser levels for DIY projects, consider how often you’ll need quick setup versus precise control. Self-leveling models save time and reduce setup errors, making them ideal for fast, large-scale tasks where visibility matters.
Manual variants demand deliberate alignment and fine-tuning, delivering consistent accuracy in targeted work but requiring more attention and time. If you handle frequent changes in orientation or rough terrain, self-leveling offers reliable orientation but may drift on rough surfaces.
Manual types excel where you need deliberate, repeatable marks and stable hold. Evaluate color options to guarantee legibility in varied lighting, and check power sources for portability or a fixed workspace.
Choose based on your pace, precision needs, and how you balance speed against control.
Essential Features for DIY Tasks: Brightness, Range, Durability, Accuracy
To get reliable results on DIY projects, focus on four essential features: brightness, range, durability, and accuracy.
In practice, brightness determines visibility in daylight or bright shops, while range defines usable distance without fading.
Durability means shock resistance and sealed housings that tolerate dusty, dirty environments.
Accuracy isn’t just a spec; it’s consistent measurement accuracy across levels, angles, and planes, which minimizes rework.
Consider tool ergonomics: a comfortable grip and balanced weight reduce user fatigue during extended sessions.
For precision, verify internal calibration and auto-level controls that hold calibration under vibration.
A well-built unit maintains alignment after accidental drops, keeping measurement accuracy stable over time.
Choose models with clear visors and intuitive controls to maximize productivity without compromising precision.
How to Set Up and Align a Laser Level for Precise Results

Setting up a laser level starts with confirming you have the right tool for the job and a stable workspace. Then, establish a reference height and surface.
You’ll mount the device securely, selecting mounting options that suit your layout—tripod, wall mount, or magnetic base—ensuring rigidity and minimal vibration. Position the laser at midline height for accuracy, and use a calibrated wall or ceiling reference to verify level points.
Power sources matter: choose fresh batteries or a reliable AC adapter, and confirm battery status before measurements. Level the unit using the built-in bubble or electronic sensor, then fine-tune azimuth and elevation for true alignment.
Lock adjustments, recheck crosshair consistency, and test with a known reference to confirm repeatable, precise results across your work area.
Budget Brackets and Value Picks for Beginners to Pros
You’ll explore budget-friendly options that don’t sacrifice core performance, so you can get reliable laser alignment without overspending.
We’ll compare price-to-feature ratios, durability, and ease of calibration to help you choose value picks suitable for beginners and up to pros.
This discussion focuses on budget brackets and value-driven performance to guide informed decisions.
Budget-Friendly Picks
Budget-friendly options offer solid value without sacrificing essential features. You’ll find sturdy laser levels that deliver reliable vertical and horizontal lines, plus decent accuracy for common DIY tasks. Look for models with a clear, bright beam, durable housings, and simple controls to keep setup fast.
Budget picks typically include basic self-leveling functions, plus rechargeable or long-life batteries, and practical tripod compatibility. A core consideration is accuracy tolerance; verify ±1/8 inch at 30 feet or better for most home projects.
For portability, choose compact units with protective cases and quick-lock mechanisms. To extend capability without breaking the bank, invest in Laser level accessories and consider custom mounting options that fit standard tripods and mounts.
A disciplined, value-focused approach yields dependable, affordable performance.
Value-Driven Performance
Value-driven performance means prioritizing reliability and versatility without paying for premium bells and whistles. You’ll find value in models offering solid color accuracy and dependable battery life, not flashy features you’ll rarely use.
For beginners, look for kits with simple setup, visible line indicators, and decent durability, then scale up as projects demand.
Mid-range picks should balance range, tilt accuracy, and rechargeability, ensuring consistent results across rooms and angles.
Pros may accept tighter tolerances if the unit stays within budget while preserving rugged housing and long-lasting components.
Compare color accuracy specs and whether the device maintains performance on battery power versus mains.
Battery life matters most during multi-room layouts; prioritize units that sustain bright, uniform lines without rapid dimming or drift.
Laser Level Recommendations by Use Case: Art Hanging, Cabinets, Tile Work
When choosing a laser level for art hanging, cabinets, or tile work, consider the specific alignment tasks each project demands and how a given model handles them. For art hanging, prioritize accuracy over long distances, with clear cross lines and fine-tuning knobs.
Cabinets benefit from multi-axis projection and self-leveling reliability to ensure plumb and level doors, drawers, and trim. Tile work demands stable horizontal and vertical references, plus adjustable beam height to accommodate varying tile thicknesses.
Look for fast setup, repeatable wall mounting, and bright, crisp lines in diverse lighting. Prioritize laser level technology that offers both horizontal and vertical planes, plus easy mode switching.
Invest in models with robust mounting options, durable housings, and precise calibration to maximize efficiency and reduce errors.
Maintenance, Safety, and Longevity of Laser Levels
To keep your laser level accurate, perform regular calibration checks and follow the manufacturer’s maintenance tips to prevent drift.
Always prioritize safety by using eye protection, securing the device on a stable surface, and disconnecting power when not in use. Plus, observe all on-site safety practices.
For longevity, employ proper storage, protect lenses and sensors, and implement a routine that minimizes wear and exposure to dust, moisture, and impacts.
Calibration Maintenance Tips
Calibration maintenance is essential to keep laser levels accurate and reliable, since misalignment or drift can lead to costly errors on the job. You should routinely check mounting stability, verify plumb and level references, and recalibrate per the manufacturer’s procedure after drops or impacts. Documenting calibration results creates a traceable history that supports accountability and consistency on projects.
Keep a clean, dust-free work area and store units in protective cases to minimize offset risks. Regularly inspect batteries and connectors, and replace worn components before failure to sustain consistent performance.
Schedule light checks weekly and full calibrations monthly for high-usage tools. Focus on Calibration consistency and Battery life optimization to maximize uptime, reduce rework, and maintain precision across all rooms and elevations.
Safety Practices First
Safe handling and robust safety practices protect both you and your laser level assets. You protect accuracy and uptime by instituting disciplined routines: inspect devices before each use, secure mounting, and keep cords clear of work zones.
Adhere to established calibration intervals and perform laser level calibration with purposeful care; slight misalignments undermine project integrity and waste materials. Wear laser safety glasses whenever the beam is operational, even during bright ambient conditions, to suppress eye strain and prevent accidental exposure.
Never bypass protective housings or modify components, and store tools in a controlled environment to prevent moisture or dust ingress. Maintain a log of checks, calibrations, and incidents, empowering rapid recovery if performance deviates.
These practices optimize reliability, safety, and professional outcomes.
Longevity Preservation Methods
Longevity preservation for laser levels hinges on disciplined maintenance, proactive safety, and thoughtful care that extend usable life and accuracy. You protect performance by regular calibration checks, clean lens surfaces, and secure storage in a padded case to prevent shocks.
Inspect mounting hardware and batteries before every project, replacing worn components promptly. Battery life matters; monitor cells for swelling and voltage drop, replacing as needed to avoid intermittent failures mid-task.
Power sources matter too; utilize quality adapters, avoid overcharging, and store spares properly. Implement circuit protection, keep firmware up to date, and document maintenance intervals for traceability.
Practice safe handling, limit exposure to dust and moisture, and seal enclosures when not in use. With disciplined upkeep, your laser level maintains precision and reliability across demanding jobs.
Frequently Asked Questions
How Do I Calibrate a Laser Level After Impact Drops?
After an impact, calibrate your laser level by inspecting for misalignment, then use calibration tools to adjust the vertical and horizontal axes; perform an accuracy check, and apply impact adjustment as needed until plumb and level readings hold.
Can Laser Levels Be Used Outdoors in Bright Sunlight?
Outdoors in bright sun, you can use a laser level, but choose high-visibility models; Laser level types matter, and Outdoor visibility is essential. You’ll rely on bright, rugged units for precise alignment, even under blazing daylight.
What Moisture or Humidity Levels Affect Laser Accuracy?
Humidity and dew point effects can degrade laser accuracy; high moisture causes beam scattering and refraction, while condensation forms on optics. You should account for humidity interference and monitor dew point to avoid measurement drift and unreliable readings.
Do Laser Levels Require Warm-Up Time Before Use?
Yes, most laser levels don’t require a warm-up, but you’ll want a brief zeroing or self-calibration, depending on model. Note Laser level features and Power source requirements influence startup time and performance, especially in demanding projects.
Are There Maintenance Steps to Extend Laser Lifespan?
Yes—regular laser level maintenance extends lifespan. Inspect seals, clean lenses, and protect from dust. Battery replacement tips: use correct type, replace pairs simultaneously, avoid leaks, and store charged. Keep impact resistance and calibration checks routine.
Conclusion
You’ll finish projects with the ease of a craftsman who’s seen the horizon before dawn. Like a lighthouse guiding ships, precise lines and dependable self-leveling illuminate your path, reducing guesswork. You’ll trust bright beams, steady calibrations, and rugged builds to defend every square inch from drift and doubt. When cabinets align, tiles sit true, and art rests perfectly, you’ll sense a quiet confidence, a lasting impression of craftsmanship that outlives the tools themselves.


