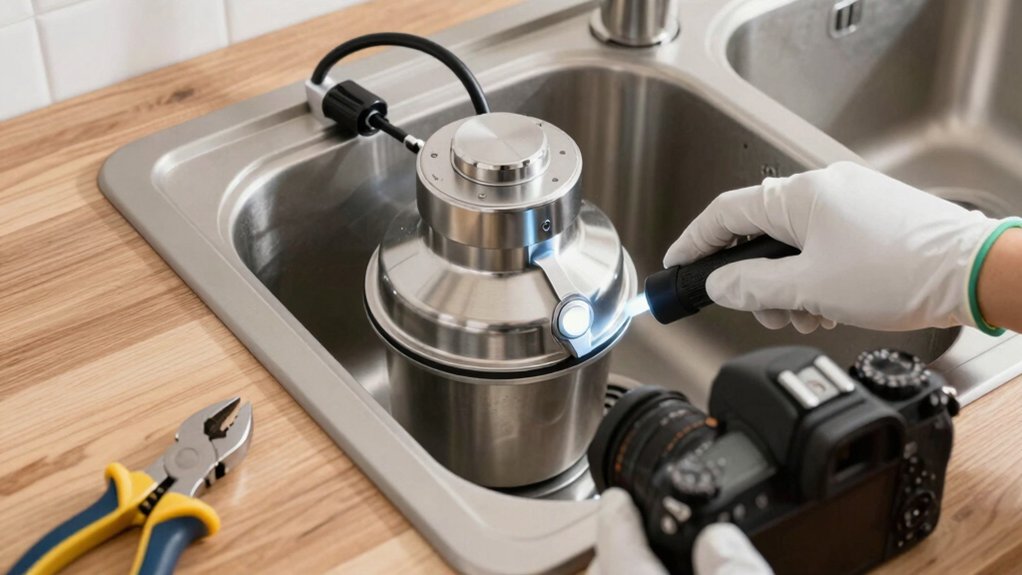
If your garbage disposal won’t turn on, start by checking power. Confirm the wall switch and outlet are energized, and that the circuit breaker hasn’t tripped. If power looks good, unplug and clear any jams—use tongs or pliers, not your hands—and press the reset button for 2–3 seconds. Reconnect power, run cold water, and test the unit. If it still won’t spin, you may need a manual reset or further inspection; more tips await.
Why a Garbage Disposal Won’t Turn On (Common Causes)
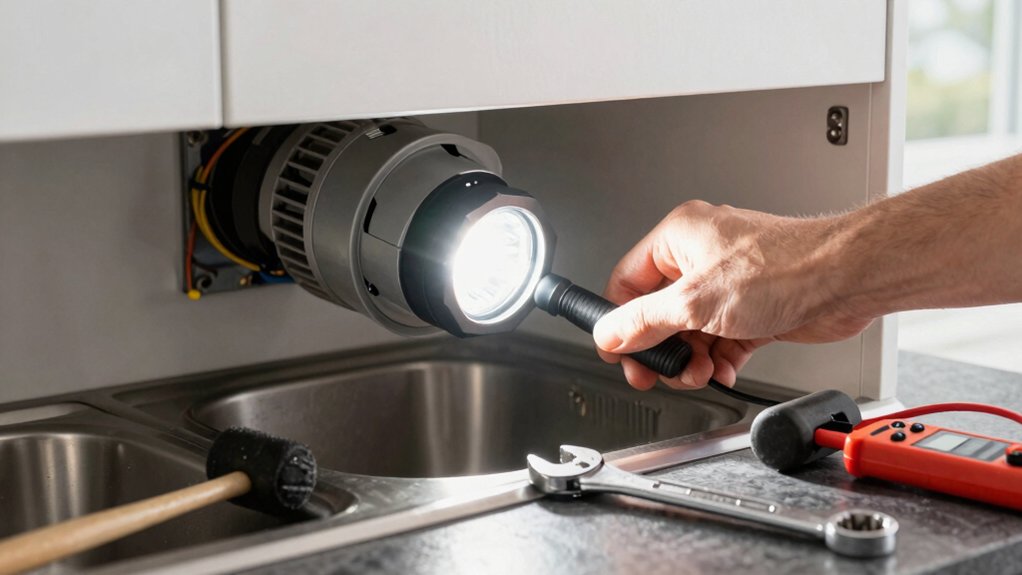
If your garbage disposal won’t turn on, the most common culprits are power issues, jammed internals, or a tripped reset button.
You’ll want to verify the power source first: check the wall outlet and circuit breaker, then confirm the unit is receiving voltage. Look for power surges or recent spikes that could trip the overload.
Next, inspect for jammed teeth or a lodged object, removing any obstructions with tongs, not your hands.
Internal components can seize, so try a manual reset after clearing the jam.
Wiring faults may also prevent startup, so examine accessible connections for loose or damaged wires.
If you don’t detect a clear fault, don’t force it—professional service can prevent further damage and guarantee safe operation.
Unplug and Prep for Reset
Before you reset, you’ll want to cut power and prep the area. Unplug the unit at the outlet or disconnect the circuit if you’re unsure about the outlet’s ground fault. Clear the workspace of any loose tools, food scraps, and standing water to prevent slips or spills.
Identify the disposal type you have, since some models require different entry points for reset steps—this matters for safety and compatibility.
Electrical safety stays top priority: verify the power is off with a tester, and don’t rely on the switch alone to assume power is cut. If you’re handling a hardwired unit, consult the manual before unplugging from a receptacle.
Keep pets and children away, and note any unusual smells or overheating for later troubleshooting.
Check the Wall Switch and Power Source
First, verify the wall switch is fully on and the disposer’s outlet is powered. If the switch looks fine, check that the receptacle is live by testing with a small appliance or lamp.
If there’s no power, inspect the outlet’s wiring for a loose connection or a tripped GFCI, and reset as needed. Power surges can create brief spikes that trip protection and cut power; ensure surge protection isn’t causing intermittent issues.
Examine securing screws and connectors behind the outlet cover for loose electrical wiring, then tighten carefully. Don’t bypass safety features.
If the outlet shows signs of burn marks or melting, discontinue use and replace it.
Once power is confirmed, proceed to the reset step with confidence.
Inspect the Circuit Breaker and Outlets
Carefully check the circuit breaker and the outlets connected to the garbage disposal circuit. Start with the panel: look for tripped breakers or blown fuses, then reset if safe.
If the breaker trips again, there may be a fault in the electrical wiring or a short in the outlet. Inspect accessible outlets for scorch marks, loose connections, or damaged plugs; don’t force plugs or wires.
Use a multimeter or tester to confirm power presence on the receptacle, and note readings for circuit diagnostics.
If you find a tripped breaker, reset it firmly and test the disposal. If the outlet shows no voltage, cycle the breaker again after inspecting for signs of damage.
Don’t bypass safety features; resolve issues or call a pro.
Reset the Garbage Disposal (Manual or Reset Button)
Locate the reset button on the disposal or use the manual reset if you have one, and press it firmly to clear the jammed mechanism.
If you’re using a manual reset, follow the built-in procedure exactly as described by your unit’s model—don’t skip steps.
After reset, run cold water and switch the circuit back on to confirm it’s restoring normal operation.
Reset Button Location
If the disposal won’t reset, start by finding the reset button on the bottom or side of the unit. Look for a small, recessed switch labeled reset. It’s usually red or white and sits near the electrical inlet or grinding chamber.
If you don’t see it, check the underside or back edge of the disposal directly above the cabinet floor.
Press and hold the button for about 2 to 3 seconds, then release. You should hear a brief click as it resets.
If there’s no response, inspect for an overload or jam, then clear debris with proper troubleshooting tools.
Once reset, restore power at the circuit and test the unit.
Note that reset button location can vary by disposal models.
Manual Reset Steps
If the disposal won’t reset via the button, you can perform a manual reset by disconnecting power, locating the reset mechanism, and clearing any jam before reconnecting power.
First, unplug the unit or switch off the circuit breaker feeding the disposal.
Look for the reset button on the bottom or side of the motor housing and press it firmly; you should hear a click. If the button sticks, gently pry it or use needle-nose pliers to reset.
Clear any debris blocking blades with tongs, never put hands in the baffle.
Reconnect power and run a quick test with cold water running.
If odors persist after a reset, review installation guidelines for proper venting and protection.
If problems continue, consider professional inspection to prevent disposal odors from recurring.
Safe Reset Practices
To reset safely, power off the disposal first and unplug it or switch off the circuit breaker, then use the reset button or perform a manual reset as described. You’ve avoided electricity risk by isolating power, and now you test for a true reset.
Listen for nothing suspicious after reset, then restore power slowly and run a brief test cycle. If it stays silent or hums without turning, recheck wiring or call a pro.
While you test, watch for disposal noise patterns or signs of jam release, and check for leak detection around seals. Use steady, firm pressure only when rotating the impeller by hand through the flywheel area. Don’t force it.
If leakage or repeated resets occur, stop and seek professional help.
- Power off and isolate first
- Use the reset button or manual reset
- Listen for normal disposal noise after reset
- Recheck for leaks during testing
- If issues persist, call a pro
Clear Jams and Restore Free Rotation Safely
If you hear grinding or feel resistance, stop the unit and locate the jam safely. Remove the power, then clear the obstruction with tongs or pliers, not your hands, while the blades are still still.
After removing the obstruction, rotate the impeller by hand to restore free movement before you re-energize the disposer.
Clear Obstruction Safely
Clear jams quickly and safely by inspecting the grinding chamber, removing any visible debris, and using the reset button or hex wrench to restore free rotation.
- You’ll hear a subtle rattle as you check for lodged pieces.
- A flashlight highlights shreds, screws, or snapped bits blocking the blades.
- Fresh gloves protect your hands while you pull out obstruction fragments.
- A quick tap with the hex wrench dislodges stubborn fragments without forcing rotation.
- After freeing the jam, test spin by hand and reset the unit to confirm smooth operation.
Note that obstruction removal helps with disposal odors and sets the stage for proper disposal installation and future use.
Avoid hammering or prying, which can damage seals or electricals.
Restore Free Rotation
When the jam is removed, restore free rotation by verifying the impeller spins smoothly without resistance. If it grinds or sticks, stop and recheck for remaining debris.
With the power off, give the impeller a gentle manual spin; it should rotate freely and return to center. If you hear binding, pull the unit’s reset button and test again, ensuring the switch isn’t tripped.
Run the disposal briefly with cold water to confirm consistent rotation and no unusual noises.
Check for potential disposal odors after a test run and address them with a brief cleaning cycle if needed.
Confirm installation requirements are met—mounting, electrical connection, and plumbing—before normal use to prevent future jams.
Reconnect Power and Test the Unit
Now that the reset and reset-test steps are complete, reconnect the power and run a quick test to confirm the disposal operates normally. You’ll reintroduce power at the outlet or switch, then listen for a solid hum and a smooth rotation. If it doesn’t start, check for a power surge or wiring troubleshooting issues at the inlet. Verify the power cord is seated fully and the breaker is on. Avoid forcing the unit; a brief reset may be needed if the motor lags.
If it runs, test with a small amount of non-hazardous waste to confirm consistent operation and noise level. If you hear grinding or intermittent startup, pause and reassess connections.
- Power flows cleanly with a stable hum
- Cord seated firmly, switch engaged
- Breaker on, no tripped glares
- Motor starts without hesitation
- Waste feeds and drains smoothly
Is It Time to Repair or Replace the Disposal?
If your disposal won’t repair easily, you’ll want to decide whether to fix or replace based on cost, safety, and performance. Start by evaluating disposal lifespan and repair costs. If a fix is inexpensive and restores stable operation without safety concerns, repairing can be sensible.
Consider age and efficiency: older units often burn through more energy and clog-prone components, making replacement more economical long term. Safety matters: if wiring, grinding chamber damage, or persistent leaks exist, replacement reduces risk.
Compare total expense: repair costs plus ongoing maintenance vs. a new unit’s purchase, installation, and potential warranty. If reliability remains uncertain after a thorough diagnostic, replacement typically yields fewer surprise outages.
In brief, choose the option offering consistent performance, reasonable cost, and solid safety margins.
Quick Maintenance Tips to Prevent Future Outages
Regular maintenance now prevents outages later, so start with simple habits that keep the disposal running smoothly. You’ll boost disposal efficiency by sticking to a focused routine and addressing issues before they escalate.
- Run cold water and a quick jam-clearing check after each use to wash debris away.
- Grind citrus peels occasionally to freshen, not to overpower, the unit.
- Clean the splash guard and dispose-side rim weekly to prevent buildup.
- Avoid fibrous or starchy waste that clogs blades and seals.
- Schedule a monthly inspection of hoses and connections for leaks.
Maintenance routines like these minimize downtime and extend the unit’s life.
Frequently Asked Questions
Can a Clogged Disposal Cause a Non-Start Even After Reset?
Yes, a clogged disposal can prevent starting even after reset. You should perform disposal maintenance, clearing jams and resetting, then follow troubleshooting tips to diagnose power or switch issues, ensuring blades aren’t jammed and the unit isn’t overloaded.
Will a Reset Button Work on a Jammed Disposal?
Yes, the reset button can help, but a jammed disposal still needs addressing. You’ll pivot from “hopeful click” to “steady troubleshooting,” using disposal troubleshooting steps, then manage the jam safely and verify power before trying again.
Can Water Exposure Affect Disposal Reset Functionality?
Water exposure can affect disposal reset functionality, potentially triggering false readings or dampened sensors. If Water damage suspicion arises, dry the unit, check disposal sensors, and proceed with a cautious reset only after all components are dry and securely connected.
How Long Should I Wait After a Reset to Test It?
Some warranties cover resets, so you may wait a few minutes; test after 1–2 minutes. If it doesn’t run, check reset button again. Consider warranty coverage and disposal lifespan before any further steps or replacements.
Do I Need a Professional if It Still Won’T Run After Reset?
If it still won’t run after reset, you probably need professional help. DIY fixes exist, but call a pro to assess wiring or motor issues; they’ll guarantee safety and proper diagnosis before escalating to repairs.
Conclusion
If your disposal won’t turn on, you can reset and check step by step, but don’t skip safety. Unplug, inspect for jams, press the reset button, and test with a quick spin before you call for help. If it still won’t run, you may need a professional repair or replacement. Remember: slow, steady wins the race—and peace of mind comes from addressing the issue before it becomes a bigger problem. Stay proactive, stay safe.