To pressure wash safely, pick a machine with enough power but stay within your surface’s tolerance, and use the right nozzle—wide patterns for delicate siding and lower pressure on wood. Prep the area first, cover outlets, windows, and plants, and test a small, inconspicuous spot. Clean top to bottom with steady, perpendicular passes, then rinse thoroughly and let surfaces dry. If you stick to these steps, you’ll protect textures and finishes—and a safer, more effective method awaits.
Dial in Exterior Cleaning: Pick the Right Pressure Washer
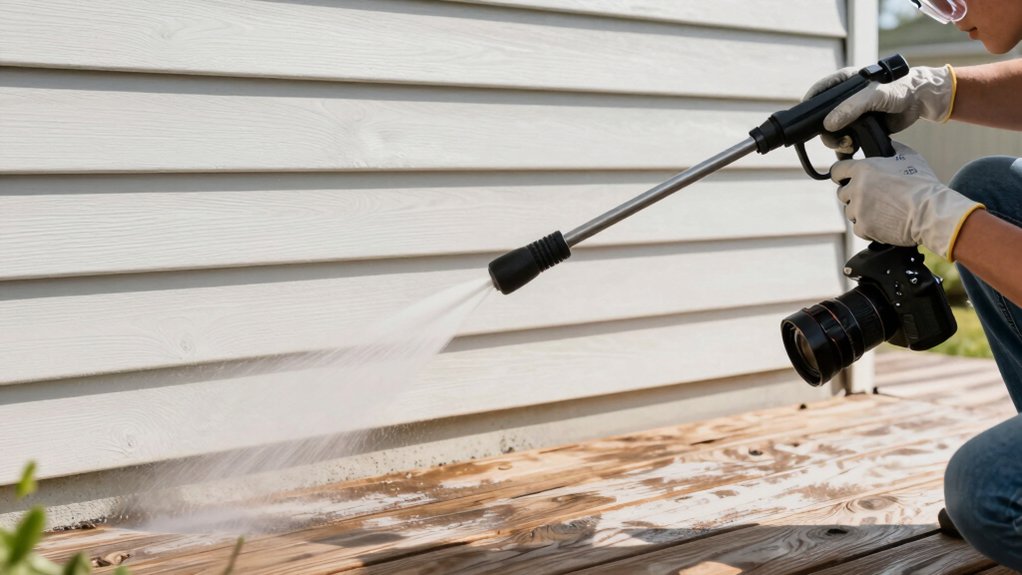
Choosing the right pressure washer starts with understanding your surfaces and the job at hand. You assess siding, siding material, brick, and wood to identify risks and cleaning requirements.
You select a machine with appropriate PSI and GPM to avoid etching, gouging, or splintering, prioritizing pressure washer safety at every step. You balance cleaning power with surface tolerance, choosing lower settings for fragile materials and higher settings only where the surface can tolerate it.
You confirm the unit’s stability, cords, and nozzle compatibility before starting. You plan a controlled pattern, keep the wand extended for reach, and avoid directing spray at people, windows, or electrical outlets.
You remember nozzle selection matters, and you tailor choices to the task while maintaining vigilance for hazards.
Choose Nozzles and Settings That Protect Surfaces
To protect surfaces, select nozzle tips and pressure settings that match each material’s tolerance. You’ll avoid gouges and streaks by choosing low-pressure, wider-angled tips for delicate siding and higher pressure for brick only when needed, never as a default. Match surfaces to consumer-safe spray patterns, and test on an inconspicuous area first.
Maintain a steady distance to reduce etching risk, and always angle away from fasteners and trim.
- Nozzle selection should prioritize surface protection over brute force.
- Use the widest safe spray pattern for each material, then adjust only as necessary.
- Stop if you notice chips, discoloration, or moisture intrusion, and re-evaluate settings.
Prep the Area: Protect Plants, Windows, Outlets, and Furniture
Have you double-checked the area around your project? Start by surveying plants, windows, outlets, and outdoor furniture.
Create physical landscaping barriers to keep spray and debris at a safe distance, then remove or shield fragile items.
Use plastic sheeting or painter’s tarps to cover delicate windows and railings, securing edges so wind won’t snag them.
For outlets, switch off exterior circuits and cover with weatherproof covers; avoid splashing water near openings.
Move planters and seating away from the lowest-pressure zone, and place sturdy covers over remaining furniture.
Apply Pest deterrents and seedling-safe repellents only after stopping power and confirming no runoff into soil.
Keep pets and kids inside during prep, and maintain a clear, organized workspace to minimize accidents.
Test a Small Area and Map a Safe Cleaning Path
Before you blast away, start small: test a discreet, low-visibility patch to gauge how the cleaner and pressure affect the surface and to confirm there’s no adverse reaction. This is essential for surface compatibility and to confirm technique testing before broader use.
- Observe color, texture, and any lift or scorching on the patch.
- Note ideal pressure, distance, and nozzle type for that surface.
- Plan a conservative cleaning path that minimizes overlap and avoids delicate edges.
Map your safe route by outlining start and stop points, keeping the wand perpendicular, and advancing in smooth, level strokes.
Confirm that runoff won’t harm plants or mortar joints, then proceed with the full area in calculated, repeatable passes. Safety first, accuracy always.
Clean Siding Without Gouging: Techniques That Work
Gently cleaning siding without gouging requires a mindful approach: select the right pressure, nozzle, and distance, then move with controlled, even strokes. You’ll use low to medium psi for most surfaces, larger surfaces receiving gentler passes.
Start from the top, work downward, and maintain a consistent distance to avoid streaks. For delicate textures, keep the nozzle at a minimum distance and use a wider spray pattern to reduce concentrated force.
Brush techniques help loosen dirt without contact abrasion, especially on vinyl and fiber cement, while preserving surface textures. Adjust your angle to glide along trim and corners, never aiming directly at joints.
Pause to recheck for staining or embedded grime, and rinse thoroughly. Safety glasses, footing, and a short, steady pass ensure you avoid damage or slip hazards.
Refresh Decks Safely: Wood, Composite, and Stain Tips
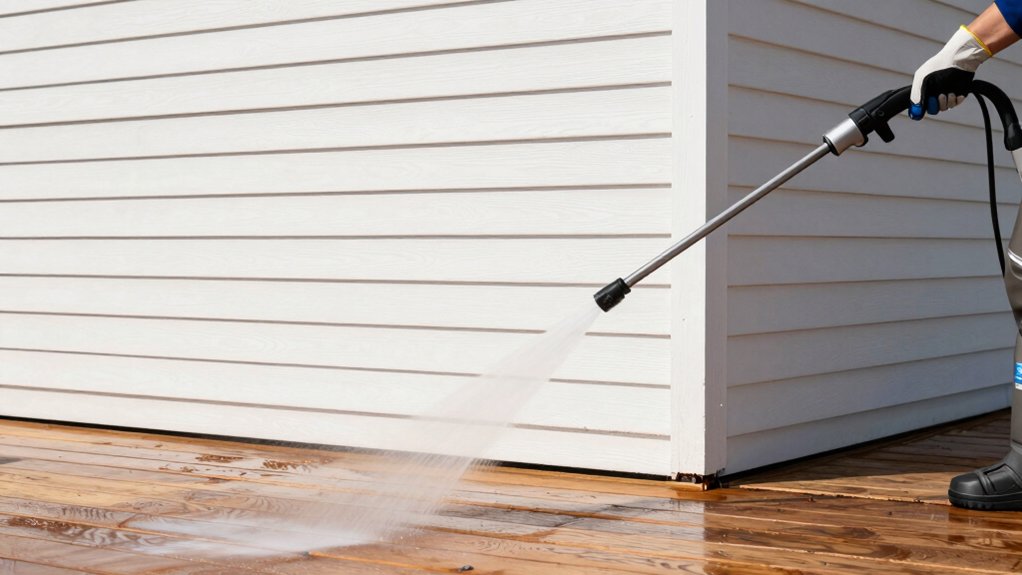
You’ll want to start with wood care tips that protect grain and prevent warp, then move to composite cleaning guidance that avoids surface damage.
Next, apply stain maintenance best practices to keep color even and extend life, without over-wetting or oversoaking.
This discussion covers practical steps for wood, composite decks, and timely stain upkeep to guarantee safe, lasting results.
Wood Care Tips
To refresh decks safely, start by identifying the material of your surface—wood, composite, or stained—and choose a cleaning and sealing plan that matches it.
Wood care hinges on protecting grain and preventing stain penetration while avoiding surface damage. Use a gentle cleaner, a firm-bristle brush, and a controlled rinse to lift dirt without abrading fibers. After drying, apply a compatible sealer to preserve color and reduce water ingress.
- Inspect boards for loose or warped wood and repair before sealing.
- Choose UV-resistant finishes to minimize grain swelling and color fading.
- Test stain penetration on a hidden area to confirm even absorption.
Work calmly, wear eye protection, and follow manufacturer directions for cleaners and sealers.
Composite Cleaning Guide
Composite decks clean differently from wood, so start with a clear method: identify the composite type, select a cleaner labeled safe for composites, and use a soft-bristle brush with a controlled rinse to lift dirt without dulling the surface.
You’ll focus on choosing detergents that suit your deck’s material, avoiding harsh solvents. Before you scrub, perform surface preparation: remove loose debris, cover nearby plants, and test a small area for color change.
Apply cleaner evenly, work in small sections, and rinse thoroughly to prevent residue that can attract more grime. For repetition-free results, avoid high-pressure bursts on edges and joints.
Always wear eye protection and gloves, and follow manufacturer guidelines. This approach protects resin-infused surfaces while maintaining original appearance and safety.
Stain Maintenance Bests
Stain maintenance isn’t a one-size-fits-all task; start by identifying your deck’s material—wood, composite, or stain—and tailor steps accordingly to protect color and durability.
You’ll prioritize stain removal with appropriate methods per substrate, then focus on surface preservation to extend life.
- Assess the surface first, choosing safe cleaners that won’t strip color or harm underlying material.
- Use minimal water and controlled brushing to reduce penetration and warping, especially on wood.
- Seal or reapply recommended finishes after cleaning to maintain protection and appearance.
Detergents, Rinsing, and Drying: Exterior Best Practices
When you choose detergents, prioritize product labels that are designed for exterior use and compatible with your surface to prevent damage.
After washing, rinse thoroughly to remove residue and avoid streaks, then dry with airflow or a clean, dry cloth to minimize water spots and corrosion.
Follow safety measures like PPE and wind direction to protect plants, pets, and yourself while you rinse and dry.
Detergent Safety Measures
Detergent safety matters because the wrong cleaner or method can damage siding and harm skin or plants. You’ll choose detergents designed for exterior use and follow label directions to minimize risk. Understand that detergent formulation affects cleaning effectiveness and residue; select products labeled for your surface type and stain.
Always test on a small area first, and wear gloves to protect skin. When mixing or applying, prioritize chemical safety: avoid mixing cleaners, and keep cleaners away from pets and children. Use the lowest effective concentration, and rinse thoroughly to prevent runoff.
- Use products labeled for exterior surfaces and your material.
- Don’t mix cleaners; store them separately and out of reach.
- Rinse completely to prevent residue and environmental impact.
Rinse and Dry Techniques
To rinse effectively, you’ll start with a thorough water flush from top to bottom to remove soap, dirt, and spent detergent before it dries. Then adjust pressure to avoid damage. You’ll use a broad fan spray, move methodically, and monitor nozzle distance to protect siding and trim.
For detergents, rinse between applications to prevent residue buildup; use the rinse water as a safety check before proceeding. Consider water temperature—warm, not hot—to enhance grime lifting without stressing materials.
Drying techniques matter: finish with a downward pass, minimize standing water, and allow surfaces to air-dry fully. After rinsing, inspect for streaks or wet spots and re-wash any suspect areas.
Store equipment safely, keeping heat and solvents away from combustibles.
Troubleshooting and Maintenance for Longevity
Regular maintenance keeps pressure washing results lasting and safer for your home. You’ll keep equipment in peak condition by following disciplined checks, addressing wear promptly, and only using recommended cleaners. Consistent care reduces damage risk and extends overall longevity.
- Pressure washer maintenance: inspect hoses, seals, and adapters for cracks; replace damaged parts before they fail.
- Troubleshooting common issues: if spray is weak, check nozzle; for uneven cleaning, verify wand grip and tip compatibility.
- Post-wash routine: flush lines, lift detergent reservoir, and dry surfaces to prevent mold growth and staining.
Frequently Asked Questions
Can Pressure Washing Harm Architectural Shingles or Siding?
Yes, pressure washing can harm architectural shingles or siding if you misuse it. You must practice pressure washer safety, test settings on inconspicuous areas, and choose gentle cleaning solution options to avoid damage while cleaning effectively.
How Often Should I Seal or Stain a Deck After Washing?
On a deck maintenance note, seal or stain every 1–2 years after washing, depending on sun exposure and wear. You should follow a strict sealing schedule, inspect annually, prep properly, and prioritize safety during application, partner.
Is It Safe to Pressure Wash Near Electrical Outlets or Meters?
Yes, it’s unsafe to pressure wash near outlets or meters; maintain distance and use low pressure. Electrical safety matters, and outlet protection should be in place, with GFCI protection and proper shielding to prevent moisture intrusion.
What PSI Is Too High for Vinyl Siding or Wood Decking?
To protect vinyl siding and wood decking, keep pressure around 1500–2000 PSI for siding and 1300–1800 PSI for decking; avoid concentrated tips. Use gentle passes, emphasize pressure washer maintenance, and prioritize environmentally friendly cleaning practices. Stay safety-conscious, precise, prepared.
Should I Use Detergent Before or After Rinsing for Best Results?
You should apply detergent before rinsing for best results, then rinse thoroughly. Use even, gentle pressure and steady strokes. Detergent application should cover all surfaces, then rinse with clean water, following rinsing techniques to avoid streaks or damage.
Conclusion
You’ve learned to pressure wash with care, not force. When in doubt, ease back, test first, and protect what matters. A gentle approach preserves siding, decks, and the surfaces you love, while still removing grime that hides your home’s shine. If something feels risky, pause and adjust—your safest result is a steady, deliberate rhythm. With the right nozzle, distance, and detergent, you’ll achieve a lasting clean without the rough edges. Trust the method, protect the finish, enjoy the view.