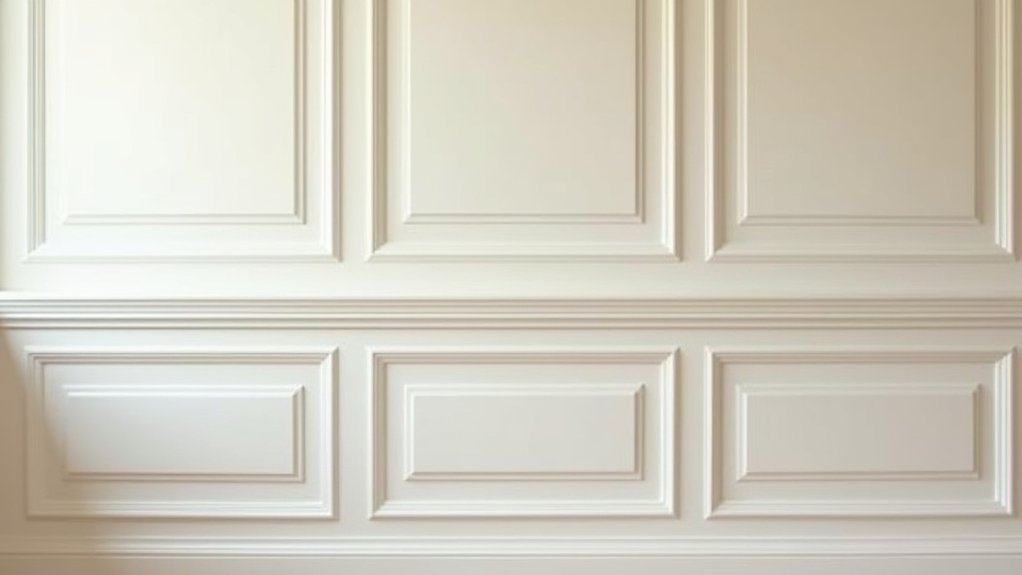
Did you know that interiors with proper picture and dado rails can influence perceived room height by up to several inches? Reinstating these rails isn’t just about aesthetics; it defines proportions, rhythm, and historical character. You’ll need precise placement, suitable materials, and careful detailing to avoid a contrived look. Get ready to balance authenticity with modern practicality, because the next steps—layout, finishes, and securing methods—will determine whether the result feels true to its period or simply decorative.
Understanding Picture Rails and Dado Rails
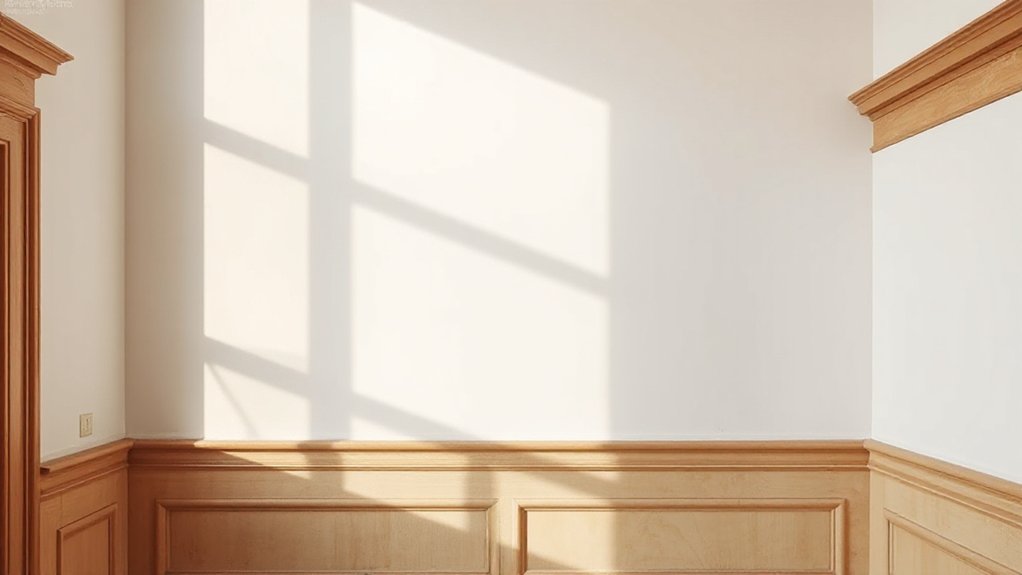
Picture rails and dado rails are functional details that define room proportion and lineage in period interiors. You position yourself to assess their height, scale, and relationship to windows, ceilings, and furniture. Picture rails trace a visual rhythm, aligning with eye level and wall panels, while dado rails protect walls from scuffs and dissolve transitions between surfaces.
You’ll notice how each rail echoes a timeline of design, from bold profiles to slim mouldings, reflecting Vintage craftsmanship. Decorative motifs along the rails—fluted clusters, acanthus, or bead-and-reel—signal intent and era without overpowering artwork.
Precision matters: measure offsets, confirm square corners, and verify continuity across adjoining rooms. By understanding these components, you establish authentic, livable proportions that honor historic technique and material integrity.
Why Rails Matter for Historic Interiors
Rails do more than decorate walls; they anchor the room’s scale, proportion, and historical accuracy. In historic interiors, rails establish a baseline for viewing lines, furniture placement, and lighting relationships. You’ll notice how picture rails define ceilings and wall fractions, guiding proportions that align with bygone rooms.
Dado rails segment surfaces, shaping rhythm and securing practical margins for art, panels, and fabric while preserving integrity of original construction. Their presence communicates intent: respect for craft, a measured passage between spaces, and an awareness of how rooms were experienced in their historical context.
When you reinstate rails, you encode architectural styles into the current environment, enabling accurate perception and future study. This practice sustains continuity, authenticity, and a tangible link to the past.
Assess Your Space: Rail Placement and Scale
Start with a clear space assessment: measure wall height, furniture footprints, and window/door margins to map where rails will sit without crowding.
Aim for a rail position that aligns with viewing lines and art focal points, typically about 5 to 8 inches below the ceiling for picture rails and at the eye level range for dado rails, adjusted to room scale.
Use precise scales and note variations across walls to guarantee consistent placement and proportional balance throughout the room.
Space Assessment Basics
To evaluate your space effectively, begin by measuring wall dimensions, ceiling height, and existing features that will influence rail placement and scale. You’ll translate those metrics into a precise plan that supports historical accuracy and appropriate period paint decisions.
- Confirm crown heights align with early 20th-century sightlines and molding details.
- Map doorways, windows, and art niches to avoid clashes with rails.
- Catalog architectural quirks that affect support spacing and load.
- Note lighting considerations that shift perceived scale.
- Record finish choices that reinforce period paint and authentic texture.
This disciplined approach guarantees your rails respect proportion, accentuate architectural lineage, and preserve the room’s authentic ambiance.
Scale and Placement Tips
Effective rail placement starts with a precise assessment of scale. Measure wall height, door and window dimensions, and furniture footprint to determine rail height relative to eye level and crown moulding.
For typical rooms, align picture rails about 5 inches below the ceiling line and consider dado rails at the standard 30-34 inch mark for chair-rail height, adjusting for generous ceilings or compact spaces.
Assess decorative molding interactions; guarantee moldings don’t visually collide with rails, preserving clean lines and historical accuracy.
Plan placements to balance wall areas, avoiding clustering on narrow walls.
Test with temporary cords or templates before mounting.
Document measurements for future rehangs and repainting, maintaining consistency across rooms to support period coherence and overall historical accuracy.
Materials and Finishes for Modern Living
Materials and finishes define modern living by balancing practicality with tactile warmth. You select surfaces that endure daily use while echoing historical restraint, blending form and function with intentional restraint. For rails and adjacent architecture, favor paints and stains that age gracefully, resisting glare and fingerprints.
Durable veneers, solid wood, and stabilized composites deliver consistent color and minimal movement over time. You’ll notice decorative moldings framing rails create quiet visual anchors, while vintage craftsmanship informs joinery accuracy and edge detailing.
Subtle texture, low-sheen finishes, and careful grain alignment foster cohesion between antiquated elements and contemporary spaces. Prioritize breathable substrates, proper sealing, and UV-resistant coatings to preserve character.
Your choices define atmosphere, ensuring period cues remain legible without compromising modern living.
- Vintage craftsmanship
- decorative moldings
- Durable veneers and solid woods
- Low-sheen, tactile finishes
- Subtle texture and grain alignment
Installation Essentials: Layout, Heights, and Securing Rails
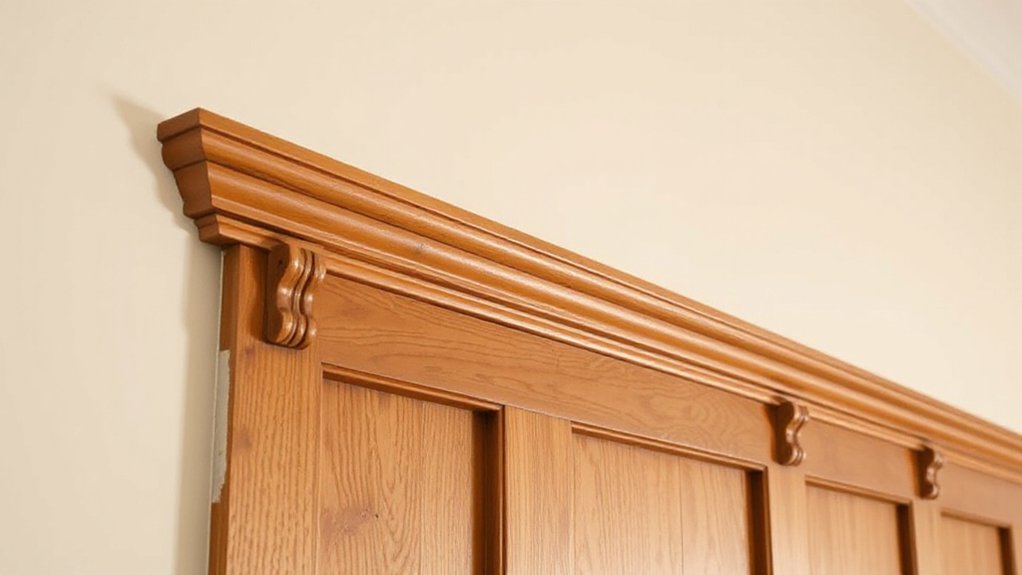
Setting up rails with correct layout, exact heights, and secure attachment blends the period-influenced details from materials with practical craft. You measure from the ceiling line to establish the dado rail height, ensuring consistency with historic rooms and existing plaster profiles.
Mark leveling guides for a straight, true run, accounting for door openings and crown moldings that affect alignment. Use concealed fasteners where possible to preserve architectural detailing, while choosing corrosion-resistant screws for durability.
Position picture rails to avoid interference with lighting, outlets, or trim, and test load directions to prevent sagging. Select nails and anchors that match era contrast and finish, and pre-drill to minimize split.
Document the layout for future maintenance, preserving historic authenticity and architectural detailing.
Lighting, Art, and Protection: Balancing Conservation and Function
You can balance conservation and function by prioritizing lighting that protects artworks while enhancing their display. In this mode, your lighting design should minimize UV exposure, control heat, and maintain color integrity, ensuring long-term preservation without compromising viewing.
By aligning lighting choices with art curation goals, you guide attention to detail, texture, and form, while safeguarding materials from deterioration. Precision lamp placement, dimmable fixtures, and spectrally tuned sources become essential tools, helping you tell a coherent story across the gallery.
- Safe illumination that preserves color and material integrity
- Thoughtful placement to highlight story and detail
- Dimmable controls for variable display and mood
- Spectrally balanced spectra to prevent fade
- Clear, enforceable guidelines for staff and visitors
Budgeting, Sourcing, and Project Sequencing
Begin with a materials audit: catalog existing rails, moldings, and fasteners, mapping conditions to restoration goals. Compare design variations from era sources to identify feasible options, then prioritize items with the highest impact on fidelity and durability.
Allocate contingency for custom fabrication or sourcing limited remnants, and structure a phased plan that minimizes rework.
Source from reputable suppliers with documented provenance and finish compatibility; request sample finishes and finish-testing data before commitments.
Sequence tasks to align demolition, fabricating, and installation windows, incorporating site constraints and conservation-required access.
Finally, build a traceable budget, schedule, and decision log.
Maintenance and Troubleshooting: Best Practices
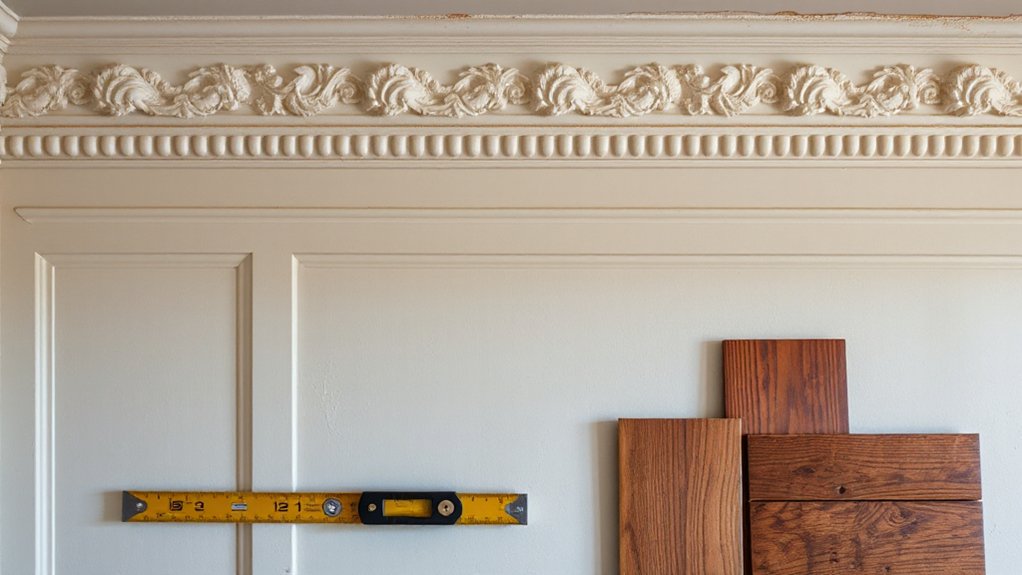
Maintenance and troubleshooting for reinstated picture rails and dado rails demand a disciplined, evidence-based approach: establish a diagnostic protocol, document observed conditions, and apply proven restoration methods that conserve period integrity while restoring function.
- Establish a baseline: verify original dimensions, materials, and profiles, then compare against observed wear.
- Document conditions: photograph joints, fasteners, and paint layers for repeat reference.
- Prioritize preservation: repair rather than replace mismatched components to maintain historical accuracy.
- Test load and alignment: ensure rails support appropriate display weights without compromising board integrity.
- Plan for modern adaptations: discreetly integrate secure, non-invasive solutions that respect the period.
Historical accuracy and modern adaptations guide every decision, ensuring durable performance without sacrificing authenticity.
Frequently Asked Questions
What Are Common Mistakes When Matching Historic Rail Profiles?
Common mistakes in historic profile matching include assuming every rail used the same width, gait, or shoulder angle; you must verify the exact historic rail profile details.
Misreading scale leads to oversized joints, and you might overlook subtle run-out or taper changes across lengths.
Make certain you compare full sections, not isolated portions.
Focus on historic profile matching and rail profile mistakes by documenting maker, era, and installation method.
Your results depend on precise measurements and validated references.
How to Retrofit Rails Without Damaging Plaster or Drywall?
You can retrofit rails without damaging plaster or drywall by using careful, noninvasive methods. You’ll pre-fit, mark, and shim the rails to avoid chatter, then use low-tack painter’s tape and scoring to guide shallow cuts.
Employ vintage hardware for mounting and match paint to the surrounding trim so the installation reads as reversible. Ironically, precision saves mess.
Make certain you test on a hidden area first, and document the process for future paint matching and maintenance.
Can Modern Fixtures Be Used With Period Rail Systems?
Yes, you can use modern fixtures with period rail systems. You’ll choose contemporary materials that balance strength and subtlety, ensuring they integrate aesthetically without overpowering the original profiles.
Prioritize aesthetic integration by selecting finishes and colors that echo plaster, wood, or plaster-wood composites. Install hardware compatible with your rails, and verify load ratings.
You’ll maintain authenticity while benefiting from reliable, modern performance, achieving a cohesive look that respects historical detail and current usability.
Which Rail Heights Work Best for Small Rooms?
Picture rails in small rooms benefit from modest heights. Aim for rail placement around 7 to 9 inches below the ceiling to balance proportion and keep sightlines clean.
Ceiling height guides you: higher ceilings tolerate 9 inches; standard rooms favor closer to 7 inches.
Choose Paint finishes with subtle sheen to avoid echoing hardware. You’ll maintain visual harmony, ensuring operable fixtures and preserved scale without crowding walls.
How Long Does Restoration Typically Take and Cost Vary?
Restoration typically takes several weeks to a few months, and costs vary widely based on scope, materials, and carpentry complexity.
You should expect labor, sourcing period-accurate profiles, and finish work to influence timelines and pricing.
A precise restoration timeline involves assessment, sourcing, fabrication, installation, and final detailing.
You’ll see higher costs with ornate moldings or custom reproductions.
For Historical accuracy, budget for potential staging and refinishing, and confirm milestones in writing to manage expectations.
Conclusion
You’ll finish with a room that breathes its past while serving today’s needs. Picture rails and dado rails anchor the eye, guiding light and art along a measured spine. With careful placement, authentic materials, and precise fastening, you’ll preserve rhythm without rigidity. When done, your walls tell a quiet, enduring story—like a well-tuned instrument in a sunlit hall. Maintain, document, and respect both memory and practicality, and the space will endure with grace.