

Make certain your system is compatible first. Gather the right tools, turn off power at the main breaker, and remove the old thermostat, labeling wires (R, C, W, Y, G, OB). Wire the smart thermostat to match its compatibility chart, then mount the unit level and secure the faceplate. Connect to Wi‑Fi, configure settings, and set schedules. Test all functions, update firmware, and keep maintenance in mind for smooth, long‑term operation—more details await to guide you step by step.
Verify Compatibility and Plan Your Install
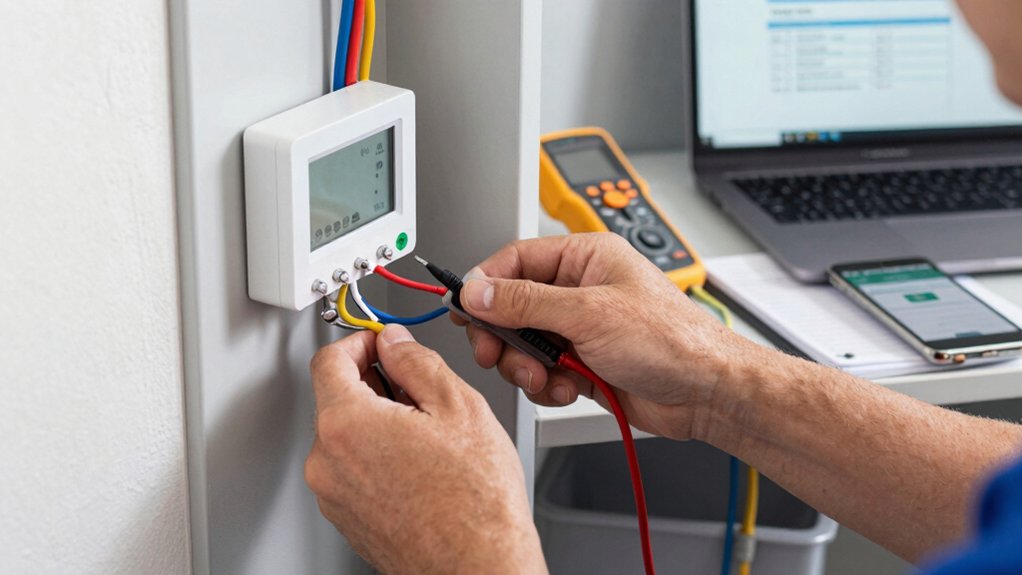
Before you buy or install anything, confirm your current system and wiring can support a smart thermostat. You’ll check your HVAC equipment, control wiring, and power source, then verify compatibility with the thermostat’s app and listing.
Note your furnace or air handler model, whether you have a C-wire, and if your system uses a heat pump or single-stage resistor. Review the manufacturer’s compatibility chart, and map each wire to its function—R, C, W, Y, G, and OB if present.
Plan installation around quiet, efficient operation and wireless communication to the thermostat. Confirm Wi‑Fi strength in the preferred location and consider a stable signal extender if needed.
This step prioritizes energy efficiency and reliable control, reducing future troubleshooting and boundary-smart performance gaps.
Gather Tools and Safety Precautions
Once you’ve confirmed compatibility, gather the right tools and review safety basics to guarantee a smooth, safe install.
Assemble a basic toolkit: screwdriver set, small needle-nose pliers, multimeter, wire strippers, and a level. Have electrical tape, wire nuts, and a label pen handy.
Choose a compatible wireless options plan if your system supports it, and confirm the thermostat’s mounting plate matches your wall.
For safety gear, wear eye protection and insulated gloves when handling wiring. Keep a flashlight and a clear workspace to avoid mistakes.
Read the user manual for specific tool requirements and wiring notes. Prepare a clean, dry area, free of clutter, to prevent drops or tool loss during the process.
Verify you have fresh batteries and a stable surface for testing.
Turn Off Power and Remove the Old Thermostat
Power down the system at the main breaker panel to cut all power to the thermostat circuit, then confirm with a non-contact tester before touching any wires. This guarantees electrical safety as you work.
Remove the faceplate, note any labels, and identify the wires connected to the old thermostat. If you’re dealing with thermostat types, recognize there are heat-only, cool-only, and 4-wire models; confirm which type you’re replacing.
Detach the wiring screws or clips, and gently pull the thermostat from its wall mount. If necessary, record wire colors and terminals for reference.
Leave the subbase in place if it’s compatible with the new unit, or remove it cleanly. Avoid forcing connectors, and keep screws and wires organized for a smooth transition to wiring the new thermostat.
Wire the Smart Thermostat : Step by Step
First, you’ll identify the wire type and power source basics so you know what you’re wiring.
Next, confirm each conductor’s function (R, C, W, Y, G) and verify the power source matches the thermostat’s requirements.
Finally, prepare to map those wires to the correct terminals with the system powered down for safety.
Identify Wire Type
To identify the wire types for your smart thermostat, start by turning off the power at the furnace or breaker to avoid shocks.
- Check wire color and confirm matches your thermostat’s compatibility chart.
- Note terminal labels on the old control board and thermostat base to avoid misconnections.
- Inspect for common conductor types (solid vs. stranded) and insulation condition before reconnecting.
Your goal is clarity, not guesswork. By documenting wire color and terminal labels, you reduce mistakes during setup and maintain system safety.
If wires aren’t labeled, snap a quick photo for reference, then mark each conductor with tape before disconnecting.
Remember to keep the furnace off while you verify the matches, ensuring a reliable, code-compliant connection when you mount the new thermostat.
Avoid introducing unused or unfamiliar wires into the terminal block.
Power Source Basics
Before you wire the smart thermostat, confirm the power source and shut off power at the furnace or breaker to prevent shocks. This step keeps you safe and prevents miswiring.
Inspect your system to determine if you’ll rely on a C-wire, battery power, or power-stealing options. A dedicated power source isn’t always required, but many setups benefit from a constant 24V supply.
Battery options can supplement or replace hard-wired needs when a C-terminal isn’t available. If you lack a common wire, consider a power extender kit or a thermostat that supports battery operation.
Verify voltage, wire gauge, and compatibility with your HVAC system. After confirming, label wires and document your chosen power source for future service or troubleshooting.
Attach the Faceplate and Mount Securely
You’ll start by securing the faceplate firmly, ensuring it sits flush against the wall.
Check mounting alignment as you go, aligning screw holes and slots before tightening.
This sets a solid base for reliable operation and clean appearance.
Securely Attach Faceplate
Securing the faceplate is quick and critical: align the plate with the mounting holes, press it firmly until it’s flat against the wall, and fasten the screws snugly without over-tightening.
Then confirm a clean, gap-free fit and verify that all edges sit evenly. You’re aiming for faceplate security that withstands daily use while preserving a tidy appearance and reliable sensor contact.
For aesthetic integration, ensure color and finish match your thermostat and wall trim, so the unit blends with the room.
- Align precisely and test the snap-fit or screw tension to keep the plate stable
- Check for even edges and uniform gaps, removing any protrusions
- Confirm the surface remains flush with surrounding decor and labeling remains legible
Mounting Alignment Tips
To guarantee a secure fit, align the faceplate with the mounting holes and press it firmly against the wall, then secure the screws snugly without over-tightening.
Mounting alignment matters for reliable operation and a clean look. Check that the faceplate sits flush, without gaps, and that all screws engage securely in the wall anchors or mounting bracket. If the plate sits unevenly, loosen and reseat, then re-tighten evenly. Avoid overtightening, which can strip threads or crack the plate.
Verify all cable connections remain undisturbed, and that the thermostat body sits square to the wall. Practice mounting safety by using proper tools, keeping power off during any wiring steps, and double-checking that the unit is level before final securement. This keeps performance consistent and reduces service calls.
Configure Settings and Connect to Wi‑Fi
To configure the thermostat settings and connect to Wi‑Fi, start by opening the setup menu and selecting Network or Wi‑Fi. You’ll enter your network name (SSID) and password, then confirm the connection.
Once linked, adjust basic preferences for performance and schedule. Keep security in mind by enabling WPA2/3, and consider changing the default admin credentials to prevent intrusions.
After connection, verify device visibility in the app and test basic controls.
- Confirm Wi Fi security with a strong password and updated firmware
- Customize app settings for notifications and preferred schedules
- Verify device appears in the thermostat app and responds to commands
Test, Troubleshoot, and Maintain Your System
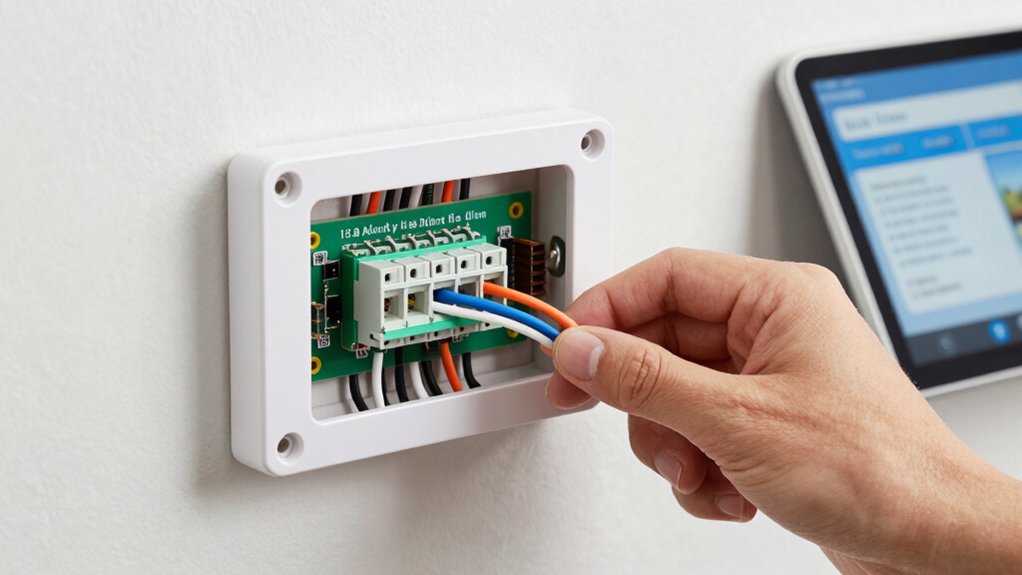
With the thermostat set up and connected, you’re ready to test its responsiveness, troubleshoot common issues, and keep the system running smoothly.
Begin by confirming the User interface responds to button presses and touch inputs promptly, then verify screen labels match functions.
Check that temperature readings align with the actual room by comparing a quick manual read. If values differ, recalibrate or re-pair the device as needed.
Monitor energy usage over a few days to assess Energy efficiency improvements; adjust schedules to avoid unnecessary cycling.
For troubleshooting, reset the device if it freezes, update firmware, and rejoin Wi‑Fi if connectivity drops.
Maintain the system by updating software, cleaning vents, and replacing batteries or sensors per manufacturer guidance.
Regular checks prevent drift and sustain reliable comfort.
Frequently Asked Questions
Will My Existing HVAC Zone Valves Affect Smart Thermostat Compatibility?
Yes, your existing zone valves don’t automatically block smart thermostat compatibility, but wiring compatibility matters. Check that your system provides C-wire and compatible wiring for zone valves, and verify the thermostat supports multiple stages and zoning.
Can I Install Without Hiring an Electrician or HVAC Technician?
You can do DIY installation, but you must prioritize electrical safety. If your system uses complex wiring or requires 24V power, hire a pro. For simple compatibility, follow manufacturer instructions and shut power off before any connection.
Do I Need a C-Wire if My System Is Battery-Powered?
If your system runs on battery power, you likely don’t need a c wire; most battery-powered thermostats operate without it. Still, check your model’s c wire necessity to guarantee compatibility and reliable power for display and features.
How Do I Handle Uncommon Wiring Like Heat Pumps or Dual Transformers?
Ever seen uncommon wiring and dual transformers scream for precision? You handle heat pumps and dual transformers by confirming compatibility, following manufacturer wiring diagrams, using a C-wire or power extender if needed, and consulting a pro if unsure.
What’s the Recommended Maintenance Schedule After Installation?
After installation, replace your filter every 3 months and check for dust buildup monthly; run a quick system test weekly. Schedule software updates when prompted and back up settings before major updates for minimal downtime.
Conclusion
You’ll feel the thermostat glow with wisdom, like a tiny control room guiding your home’s every breath. Install it once, and your energy bills droop in fear as comfort levels soar to legendary, superhero heights. With the right tools, you’ll flip switches and never look back, conquering wiring riddles and Wi‑Fi dragons in a single, confident sweep. If anything hiccups, you’ll troubleshoot fast, because you’re now the maestro of climate, efficiency, and peace of mind.




